This document illustrates how to assign tests.
Martine Legrand*
(*) All personal and company names as well as dates are fictitious. They are used for illustrative purposes only.
Contents:
- How to assign tests
- Assigning a single test
- Assigning multiple tests
- Taking the test
- Tracking results
- PDF reports
- Releasing results
Click on screenshots to enlarge.
Important elements on screenshots are highlighted with an oval.
How to assign tests
This manual takes the home page as its starting point.
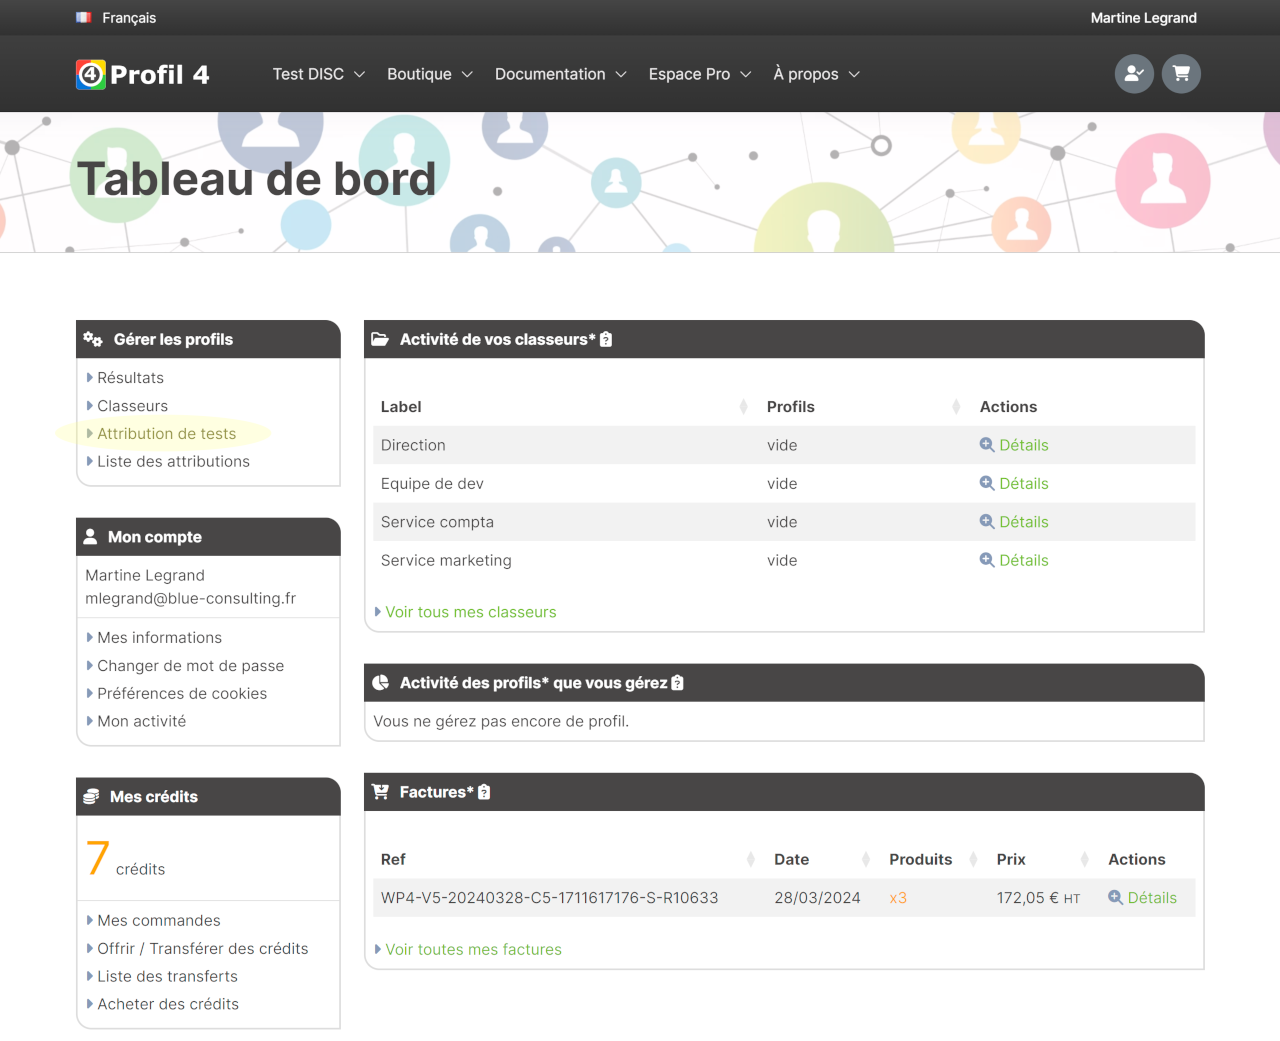
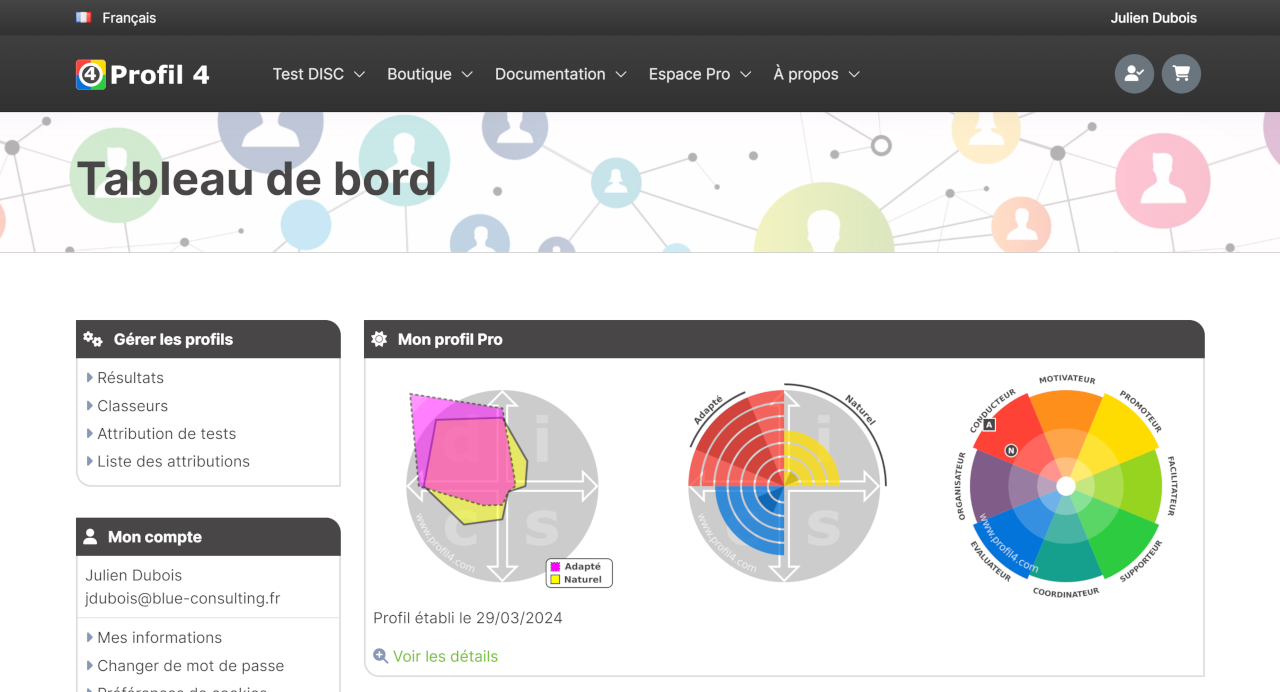
To assign tests, Martine must visit the dashboard by clicking on her name in the top right-hand corner.
The test assignment page can be accessed via the "Test assignment" menu in the left-hand column.
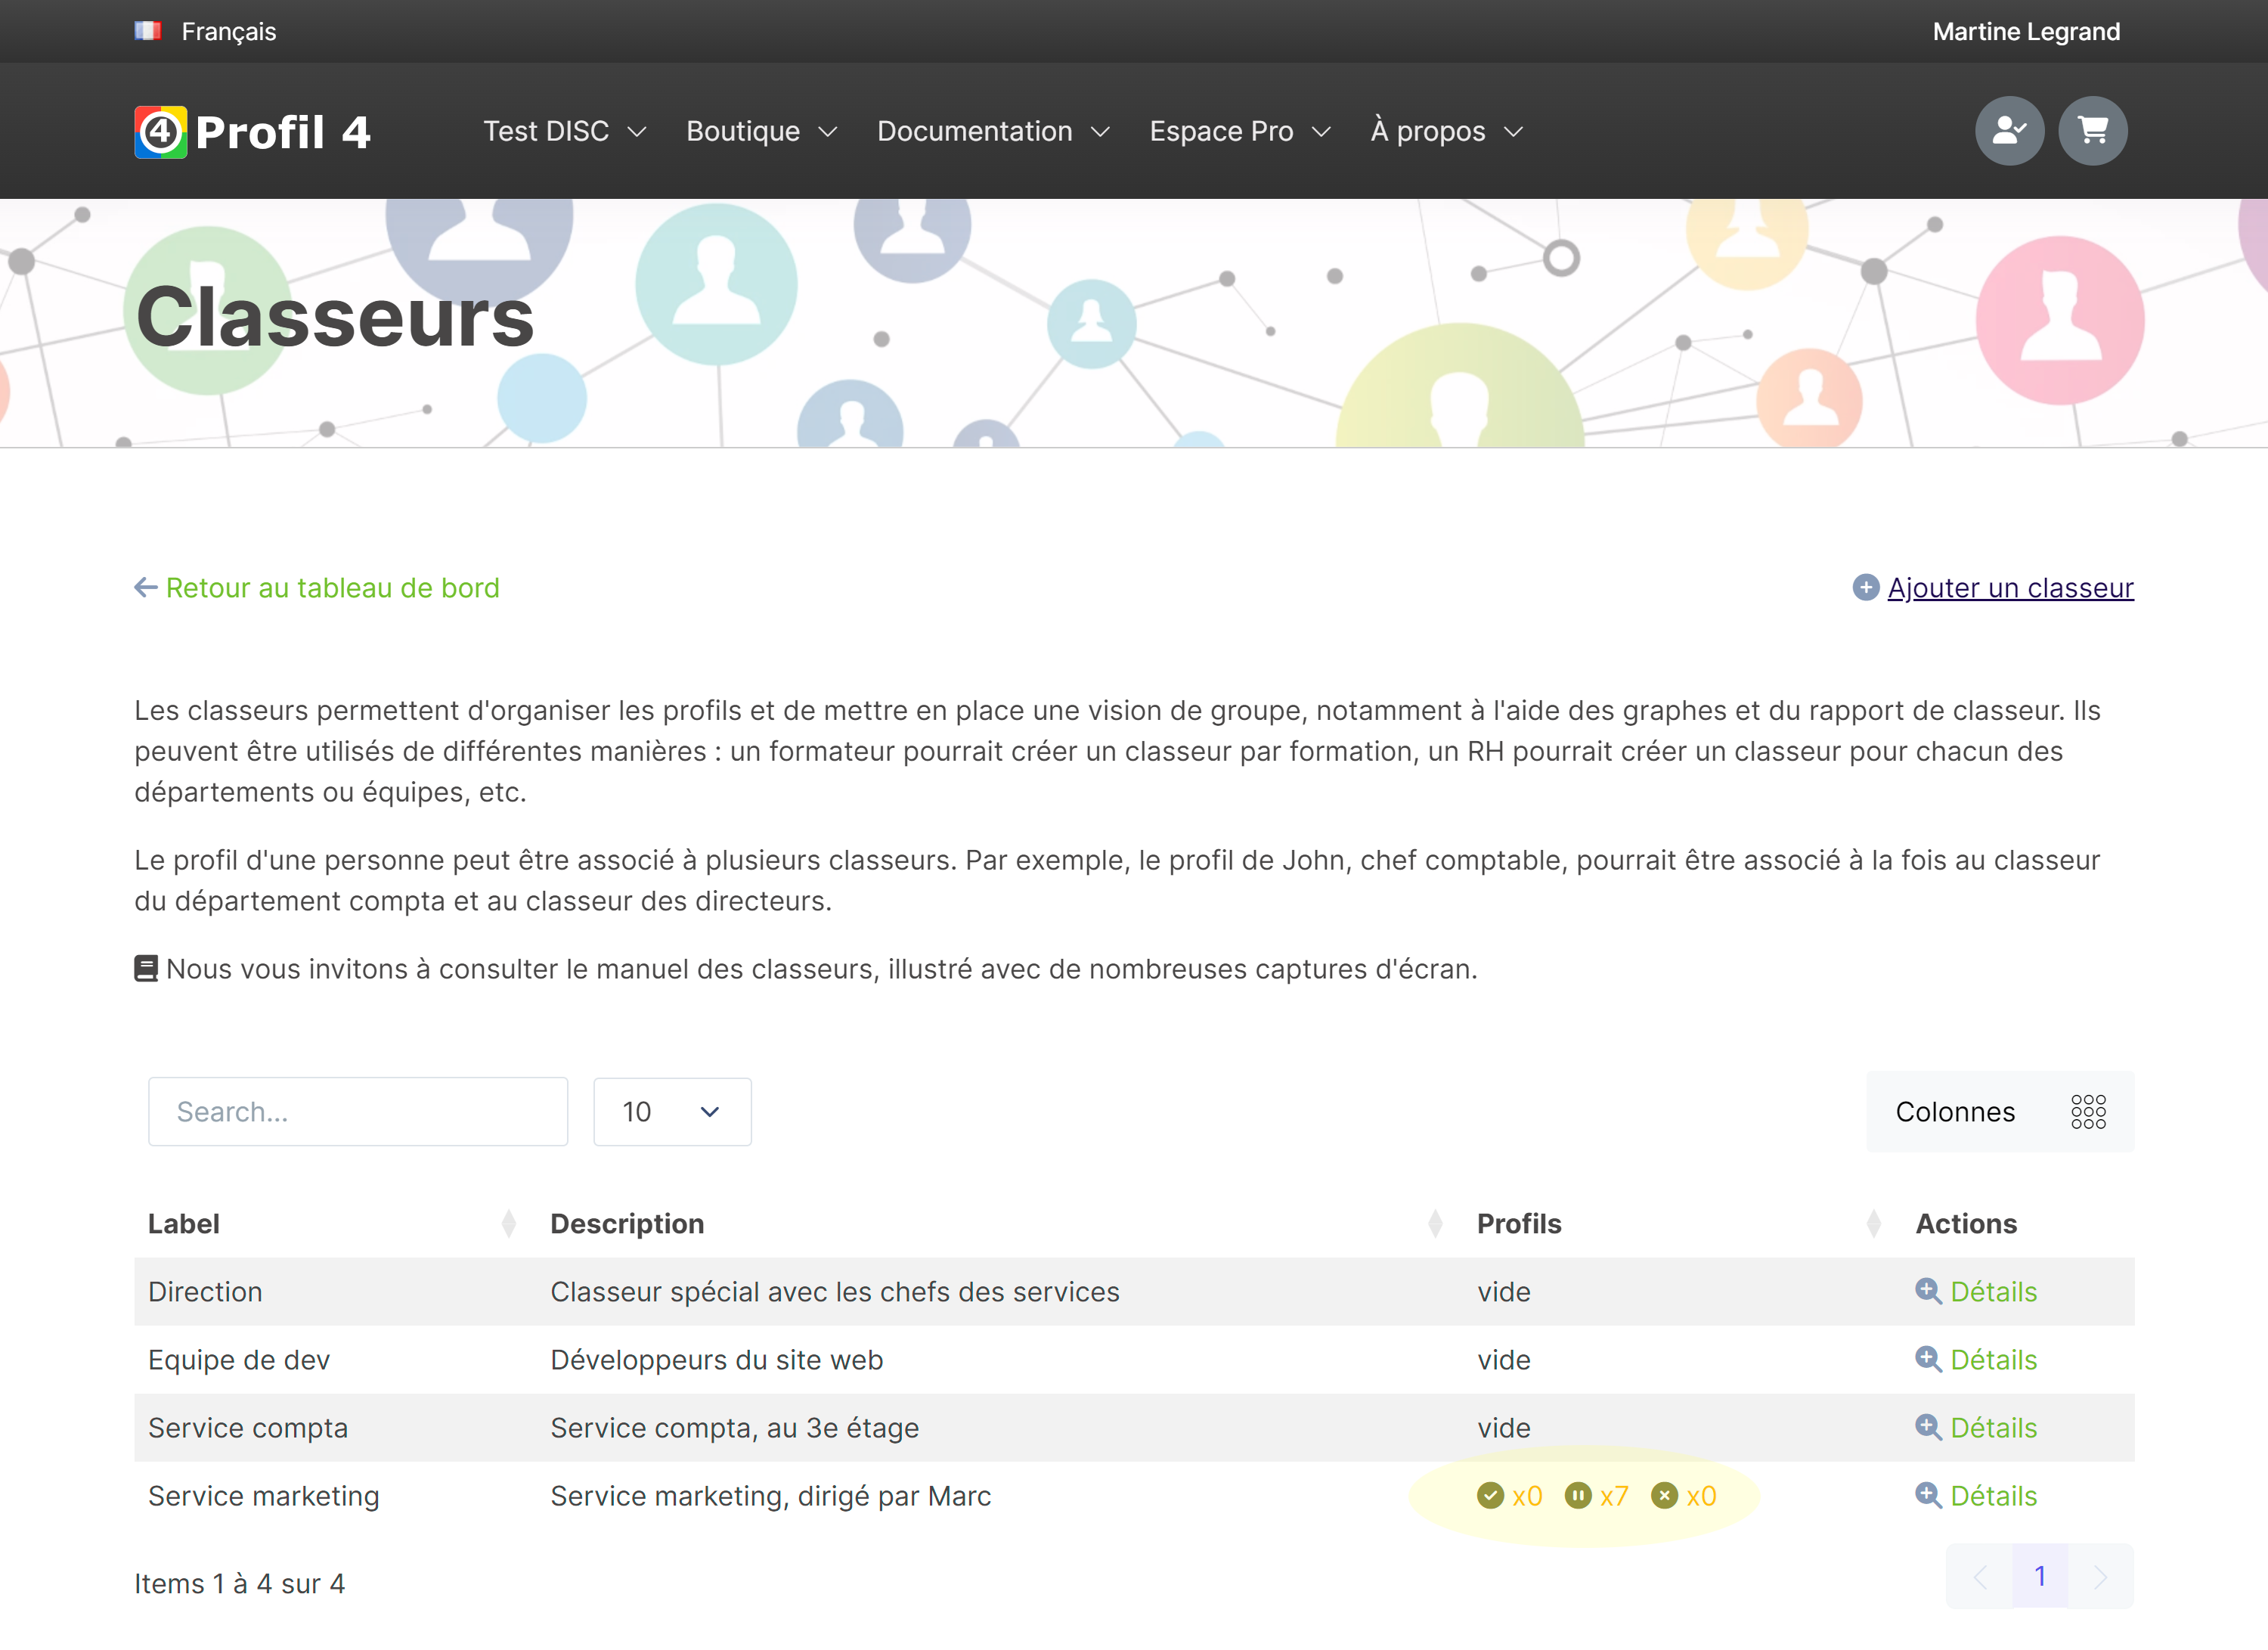
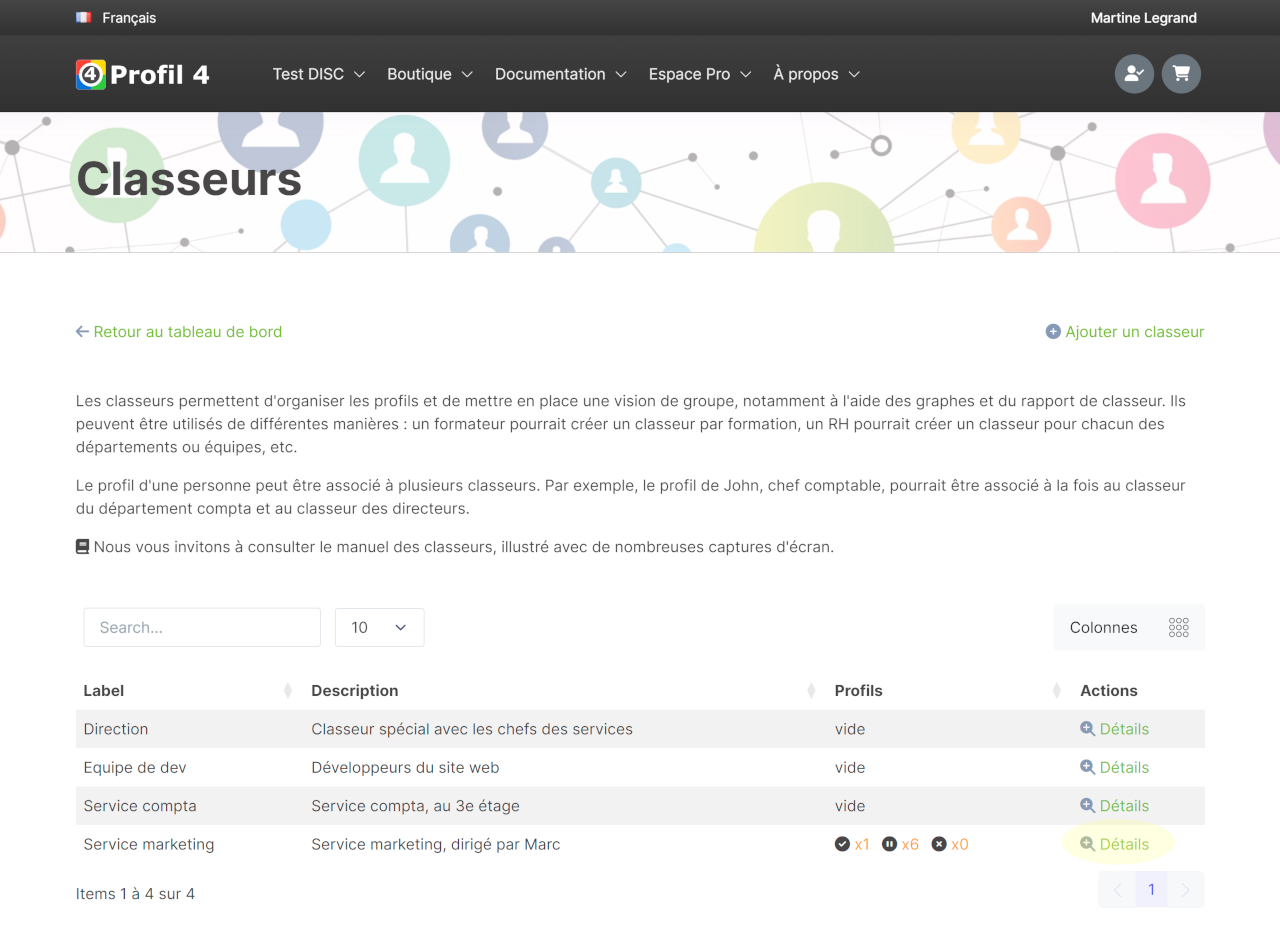
Please note: you can see (cf. screenshot) that Martine has already created a number of workbooks.
The test assignment page is also accessible from the user's mini-menu.
You can assign single or multiple tests by choosing them after clicking on the relevant menu.
Assigning a single test
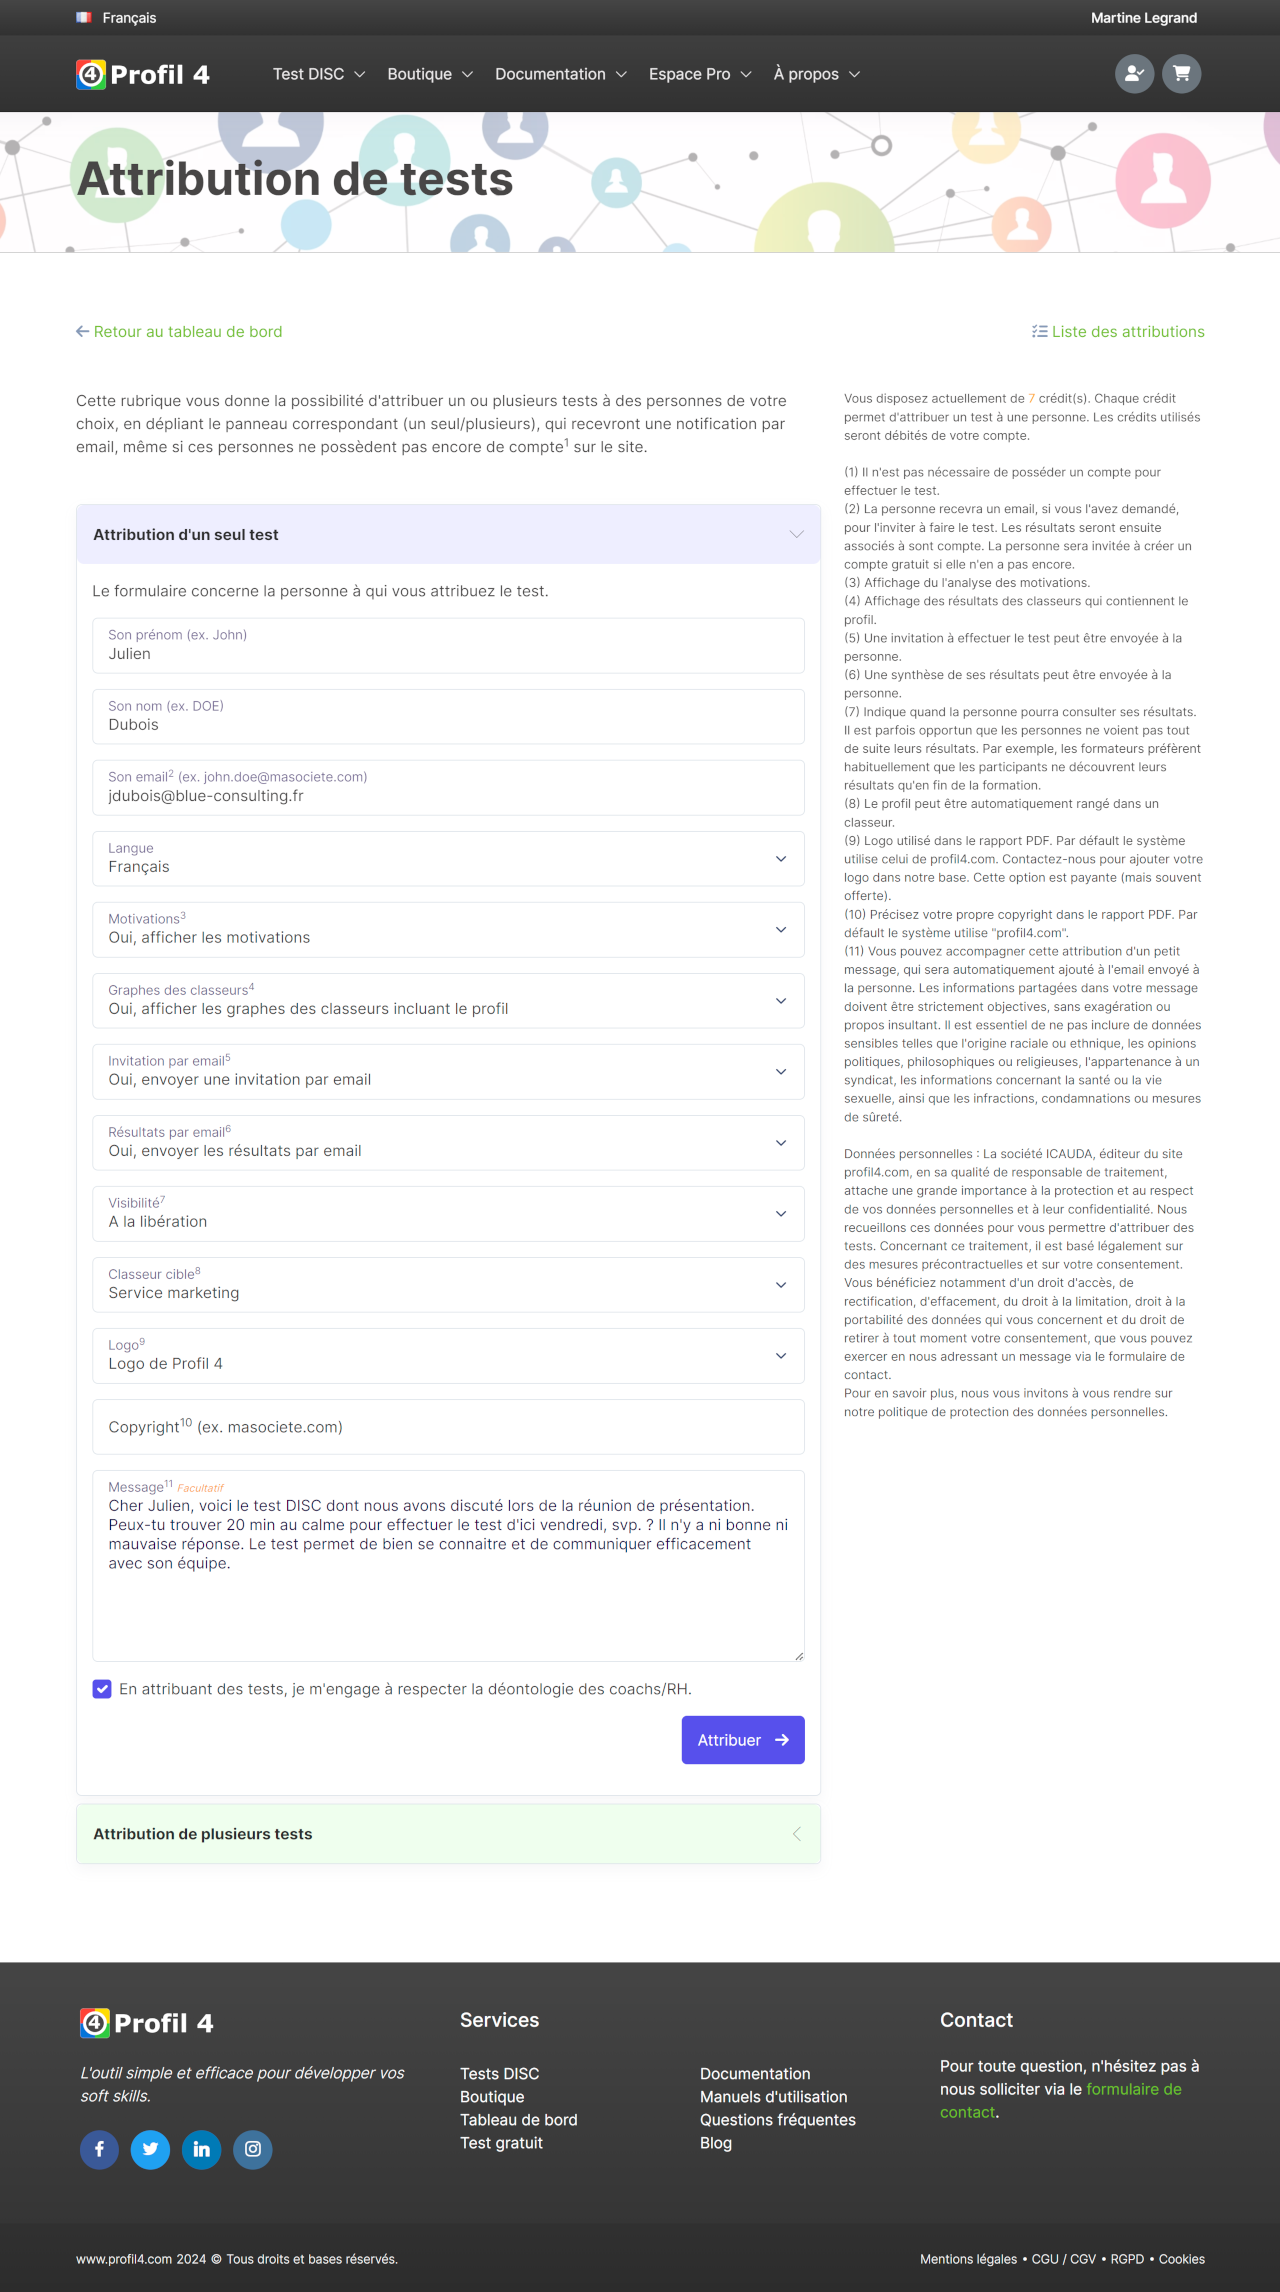
Let's assign our first test.
The following information is required:
- the person's first and last name
- their email address
- the language used for the test
- motivation display (yes, no)
- workbook graph display (yes, no). If yes is chosen, the report will include the graphs of all workbooks associated with the profile.
- email invitation (yes, no) to specify whether the person should receive an email invitation. Please choose no if you prefer to use your own email template.
- results by email (yes, no) to specify whether a summary of the results should be sent to the person concerned.
- visibility (upon completion of the test, once results have been released) to indicate whether the person can see their results as soon as their test is finished or only once Martine has made them available. In both cases, Martine can see the results instantly. Most coaches, HR managers and trainers prefer people not to see their results immediately, giving them the opportunity to discover and discuss them together.
- the workbook to which the test will be linked
- the logo to be used on the report. By default, this is the Profil 4 logo, but it's possible to ask via the contact form for another company's logo to be used. There is a fee for this option, but is often added free of charge.
- the copyright to be added to the report. By default, this is Profil 4's.
- a message to go with the email invitation and specify a few instructions.
- Martine must also commit to using all tests in a respectful and ethical manner.
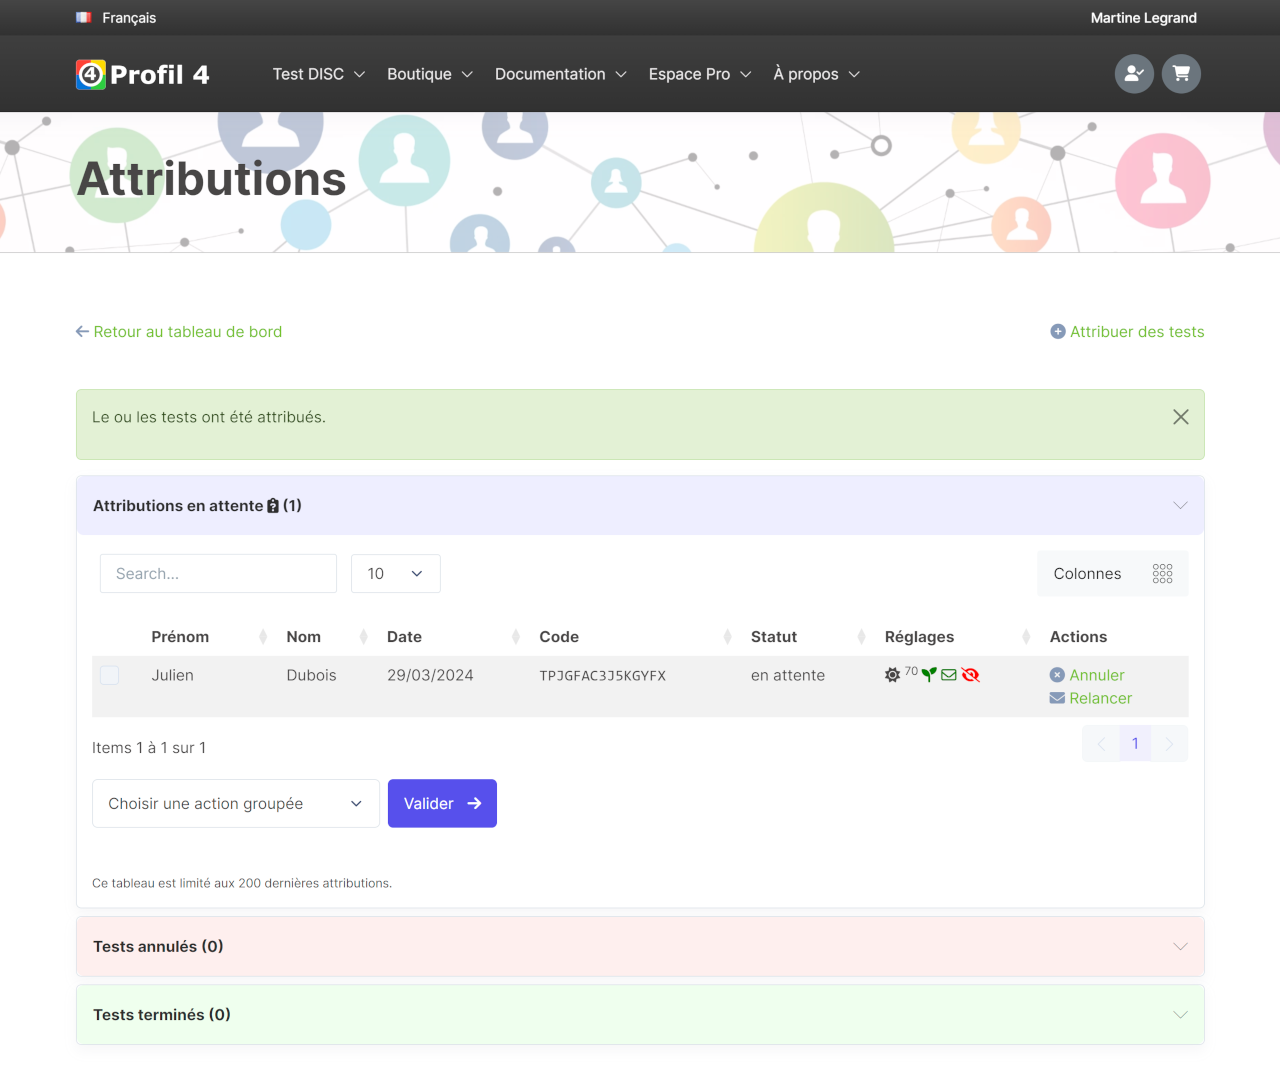
The test assignment page summarizes the status of tests sent (completed, pending, cancelled), and allows you to cancel them or send reminders.
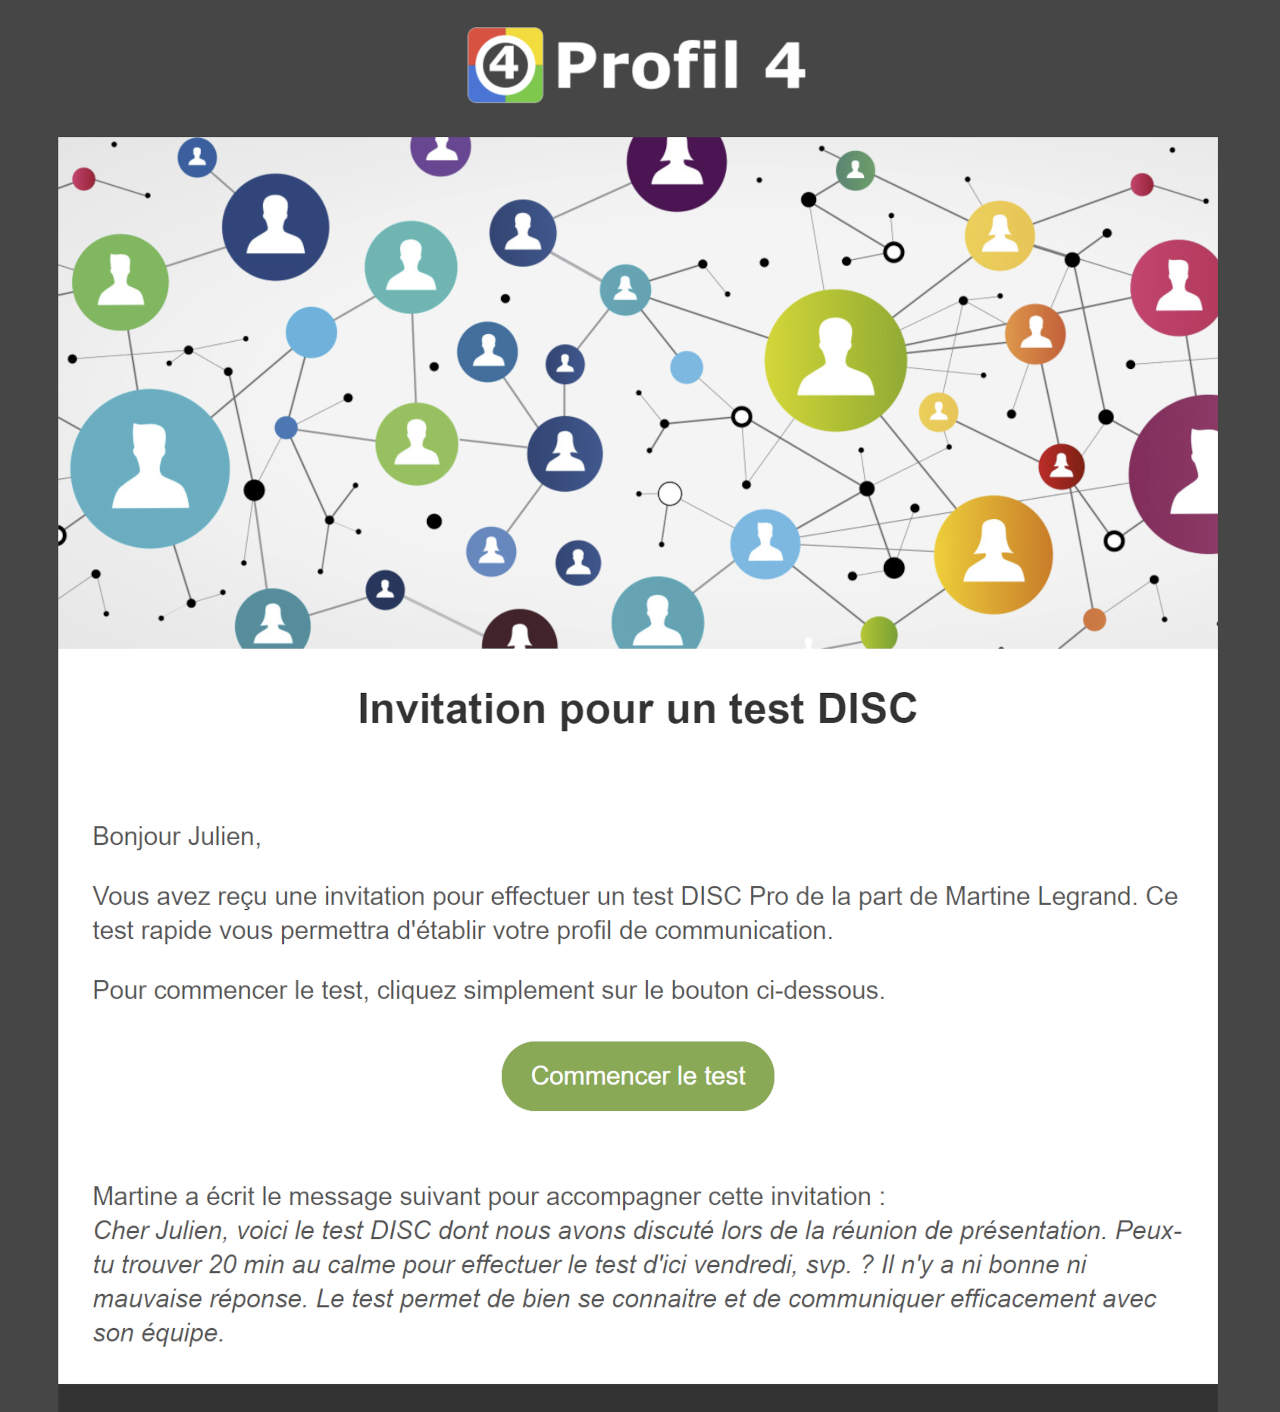
In our example, Martine has sent a test to Julien. He receives an email invitation. All he has to do is click on the button in the message to begin his test.
If the email takes too long to arrive, please check that the address used is correct. If so, we advise the recipient to consult their "spam" folder.
Please note: some companies use filters that block messages from unknown senders. In such cases, it is the coach/HR manager/trainer's responsibility to deal with the company administrator. Profil 4 cannot intervene in any way. It should also be noted that some providers only display emails the day after they are sent.
Assigning multiple tests
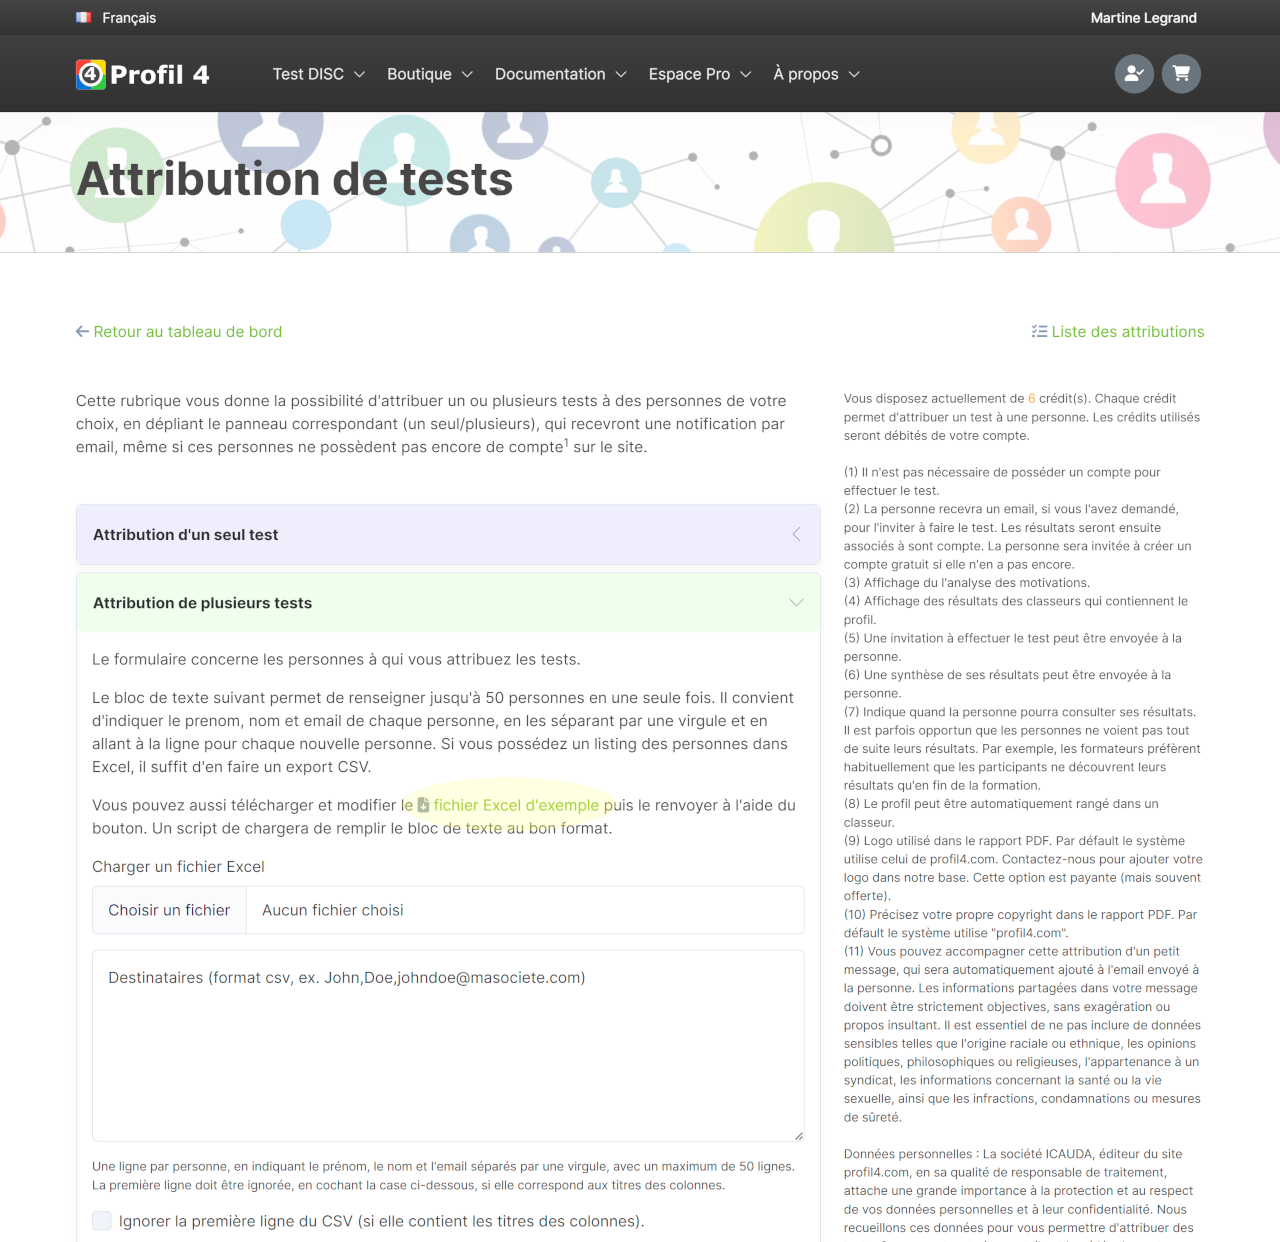
The procedure and the information required for assigning multiple tests are the same as for single tests.
The difference is that several people can be included at once. To do this, the first name, surname and email address of each person must be entered, separated by a comma (CSV format) and with a new line for each person.
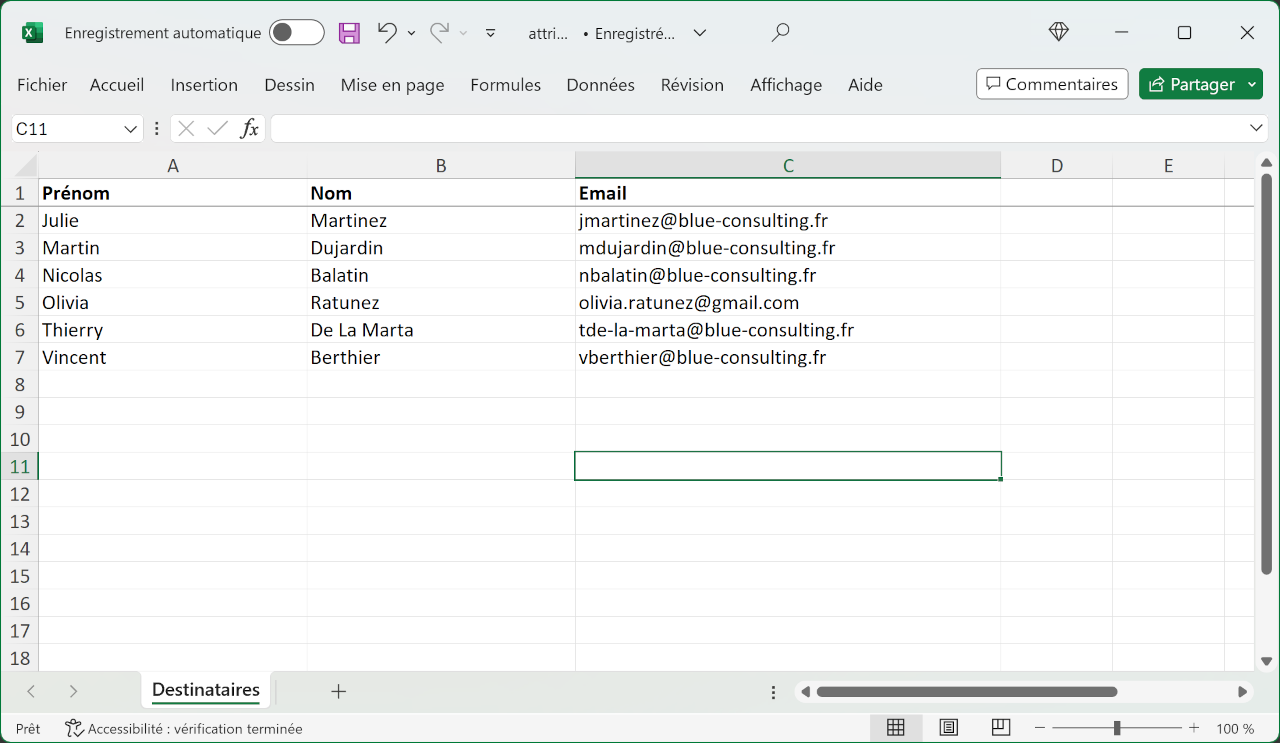
To make things simpler, you can also import an Excel file including first name, last name and email address as column headings. The easiest way to do this is to download the sample Excel file and modify it.
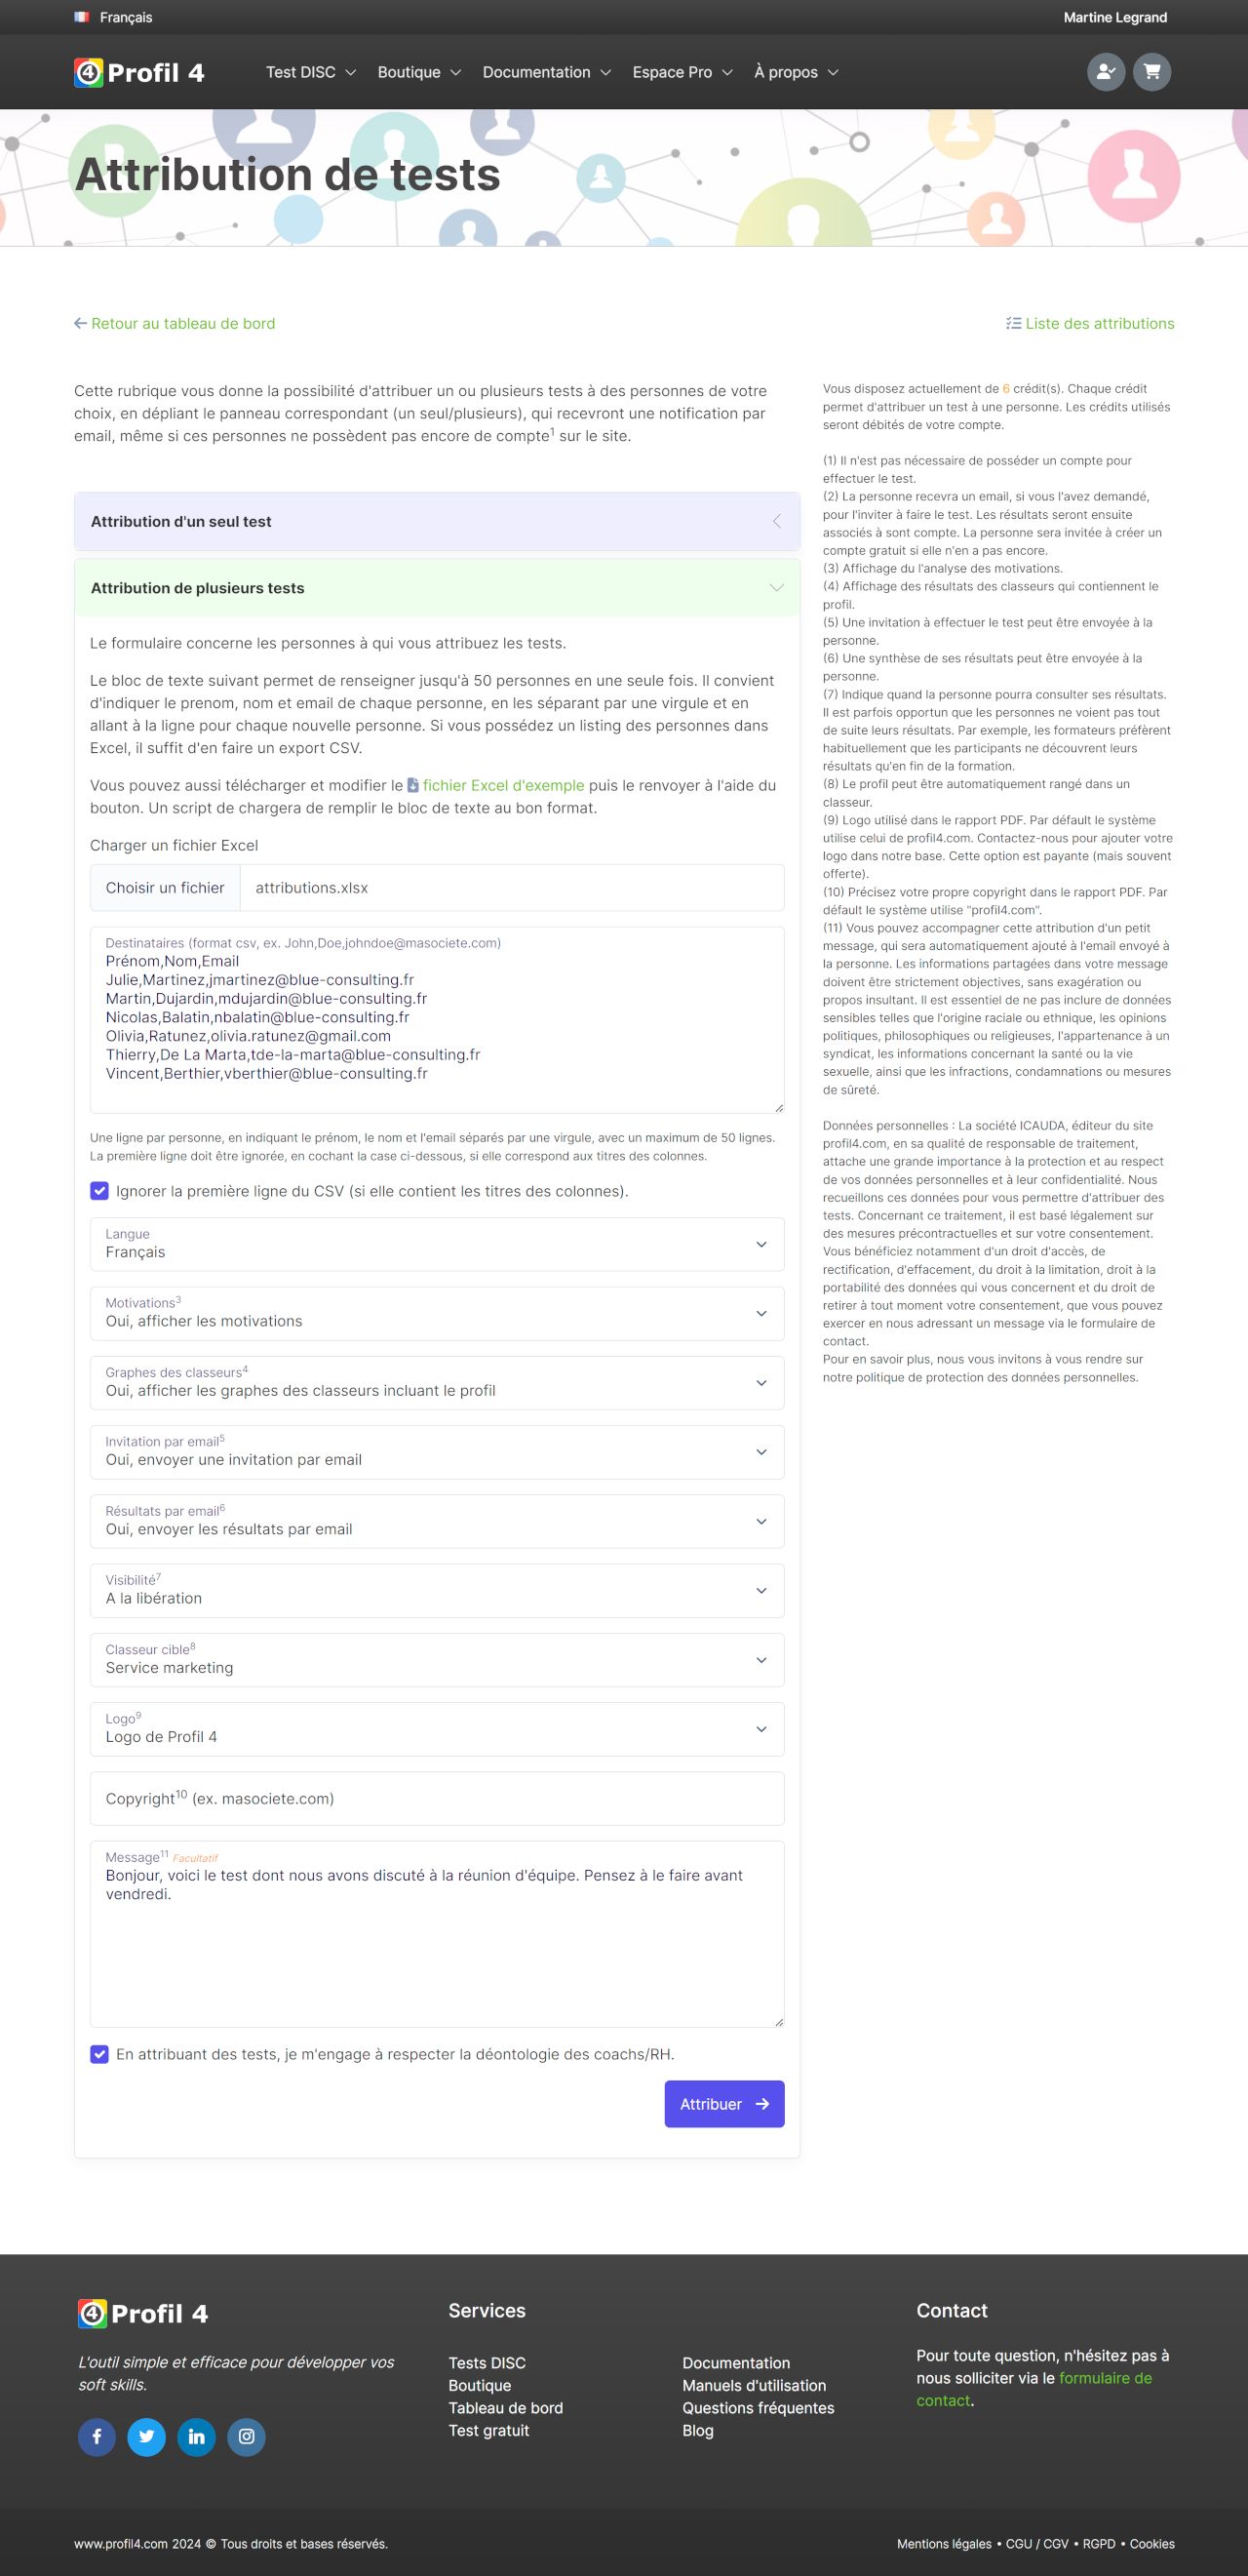
Here, Martine indicates that she is assigning the test to 6 people.
When the Excel file is imported, a short script reads the information and automatically fills in the online form in the correct format. By default, this script assumes that the first line of the file corresponds to the column headings and checks the appropriate box to ignore this line.
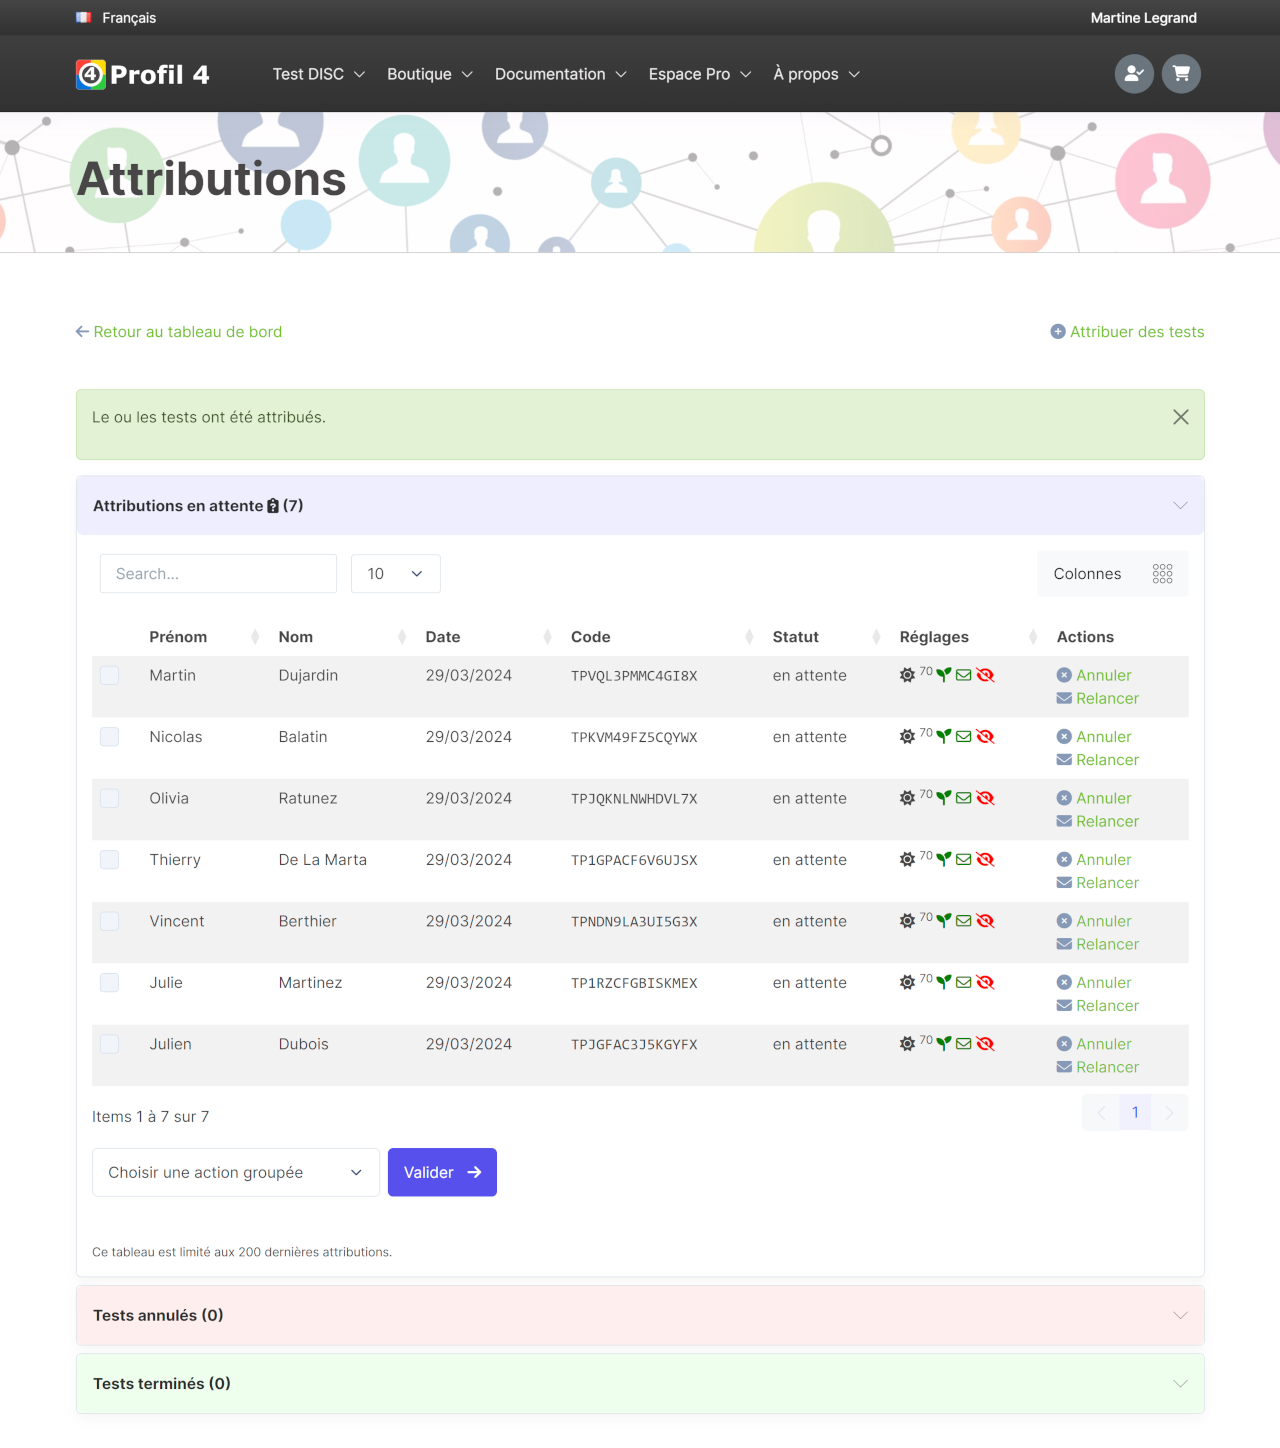
We can see (cf. screenshot) that all 6 tests have been added at once. The corresponding users will all receive an email invitation with Martine on copy.
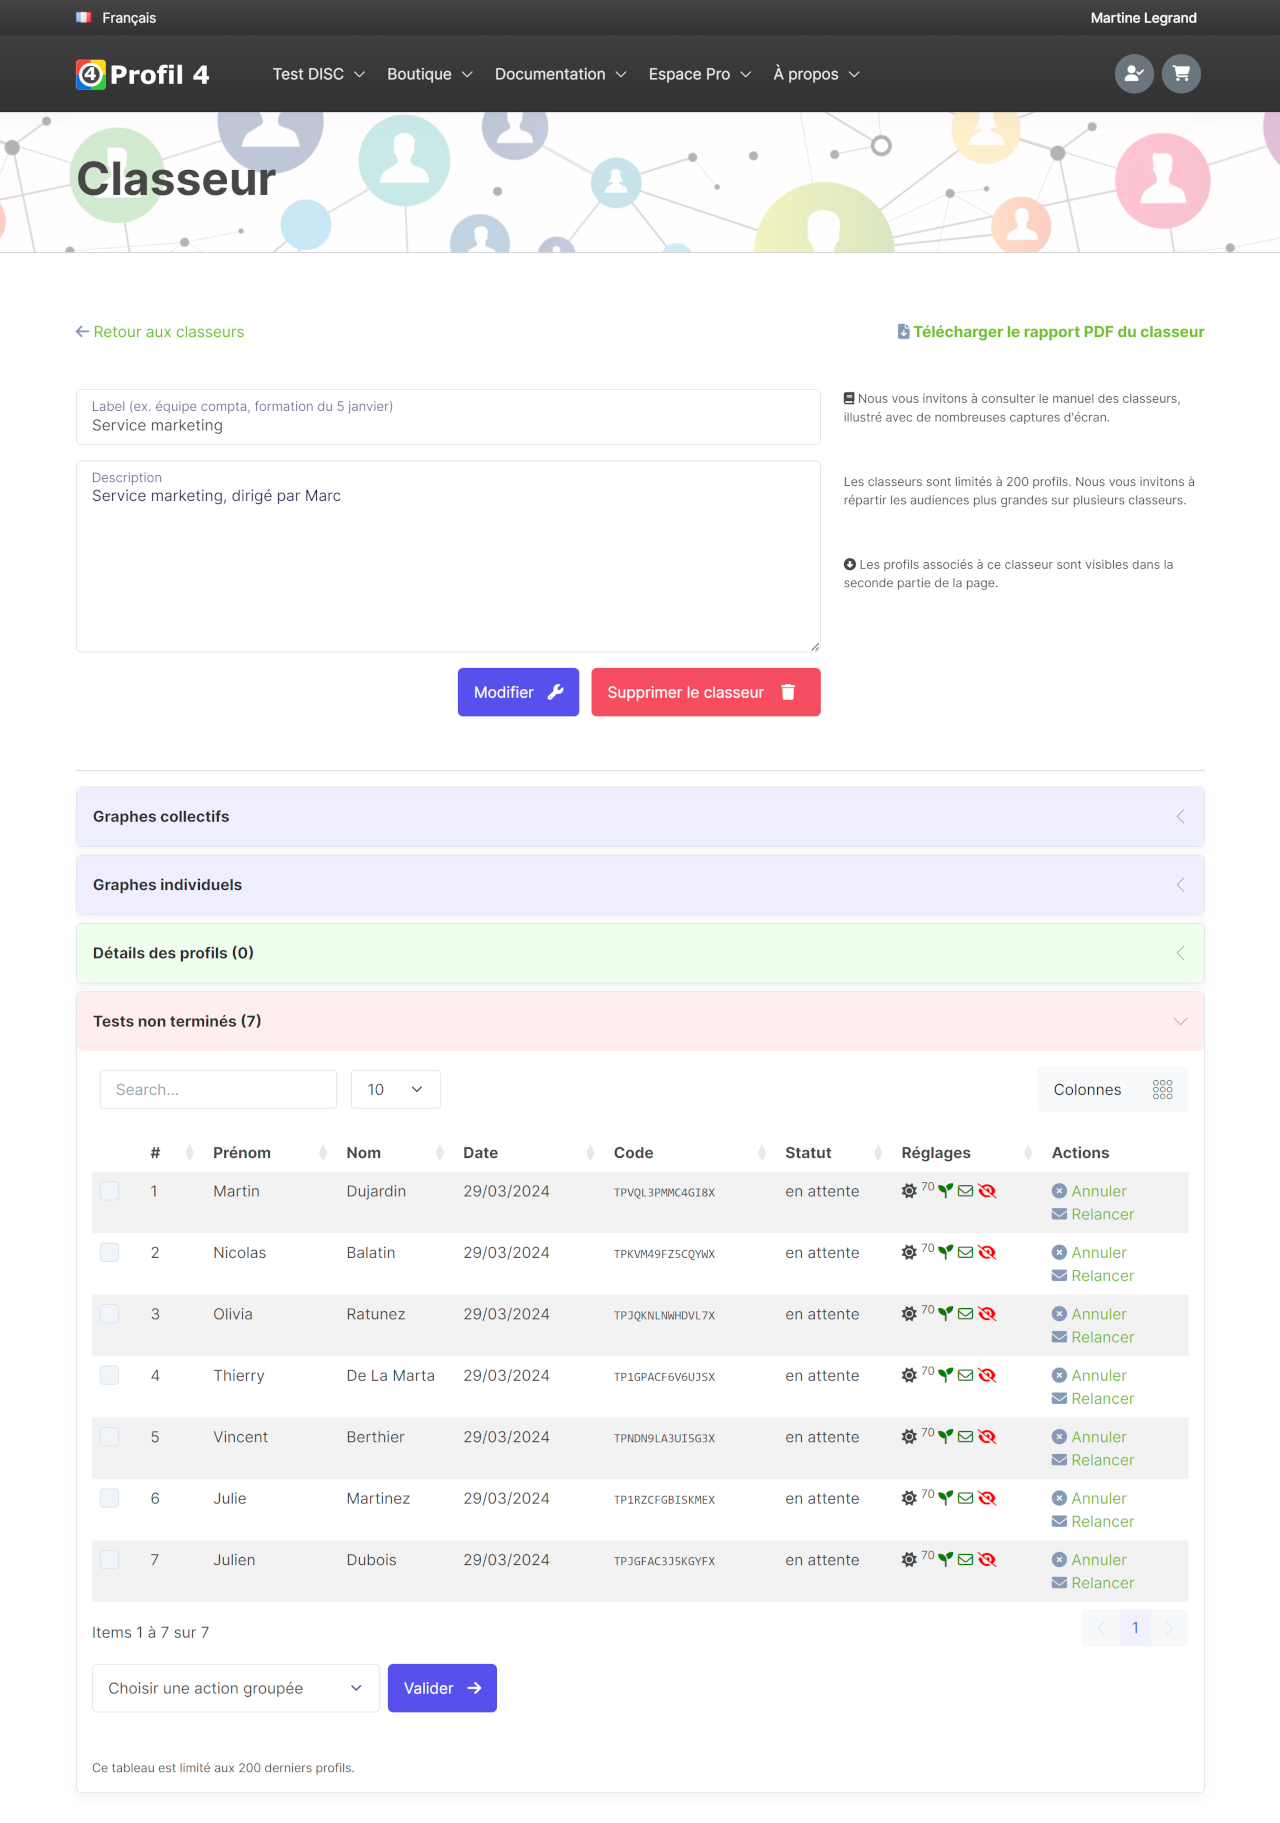
In our example, Martine has chosen to organize the profiles in a workbook. Its counter therefore goes up by 6 tests. Since one other test has already been assigned (see section "Assigning a single test" above), the total is now 7 tests.
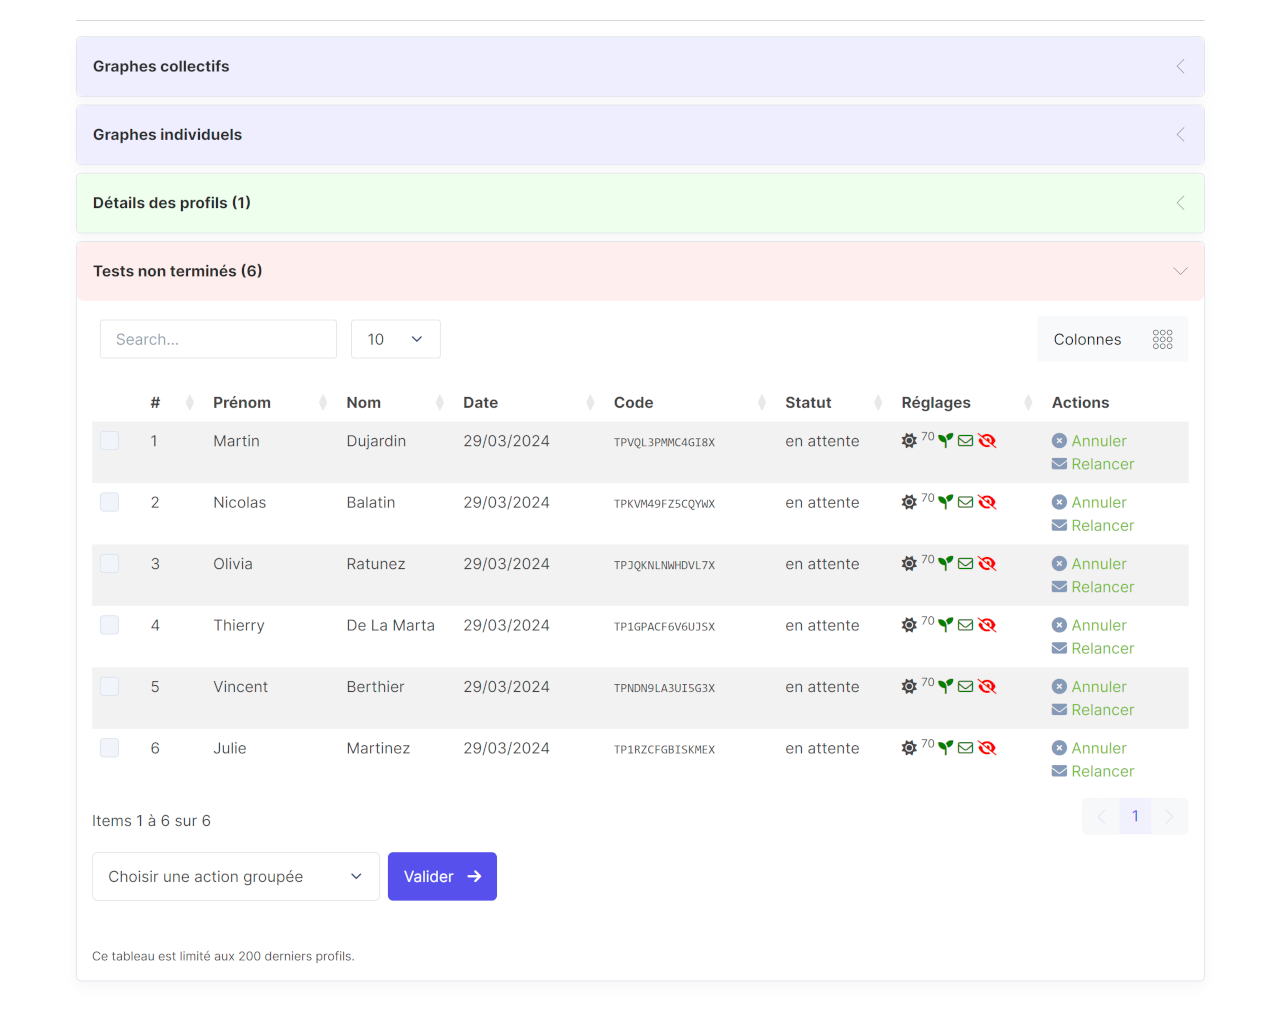
The workbook details indicate that the 7 tests are not yet complete, and you can either send reminders or cancel tests.
Taking the test
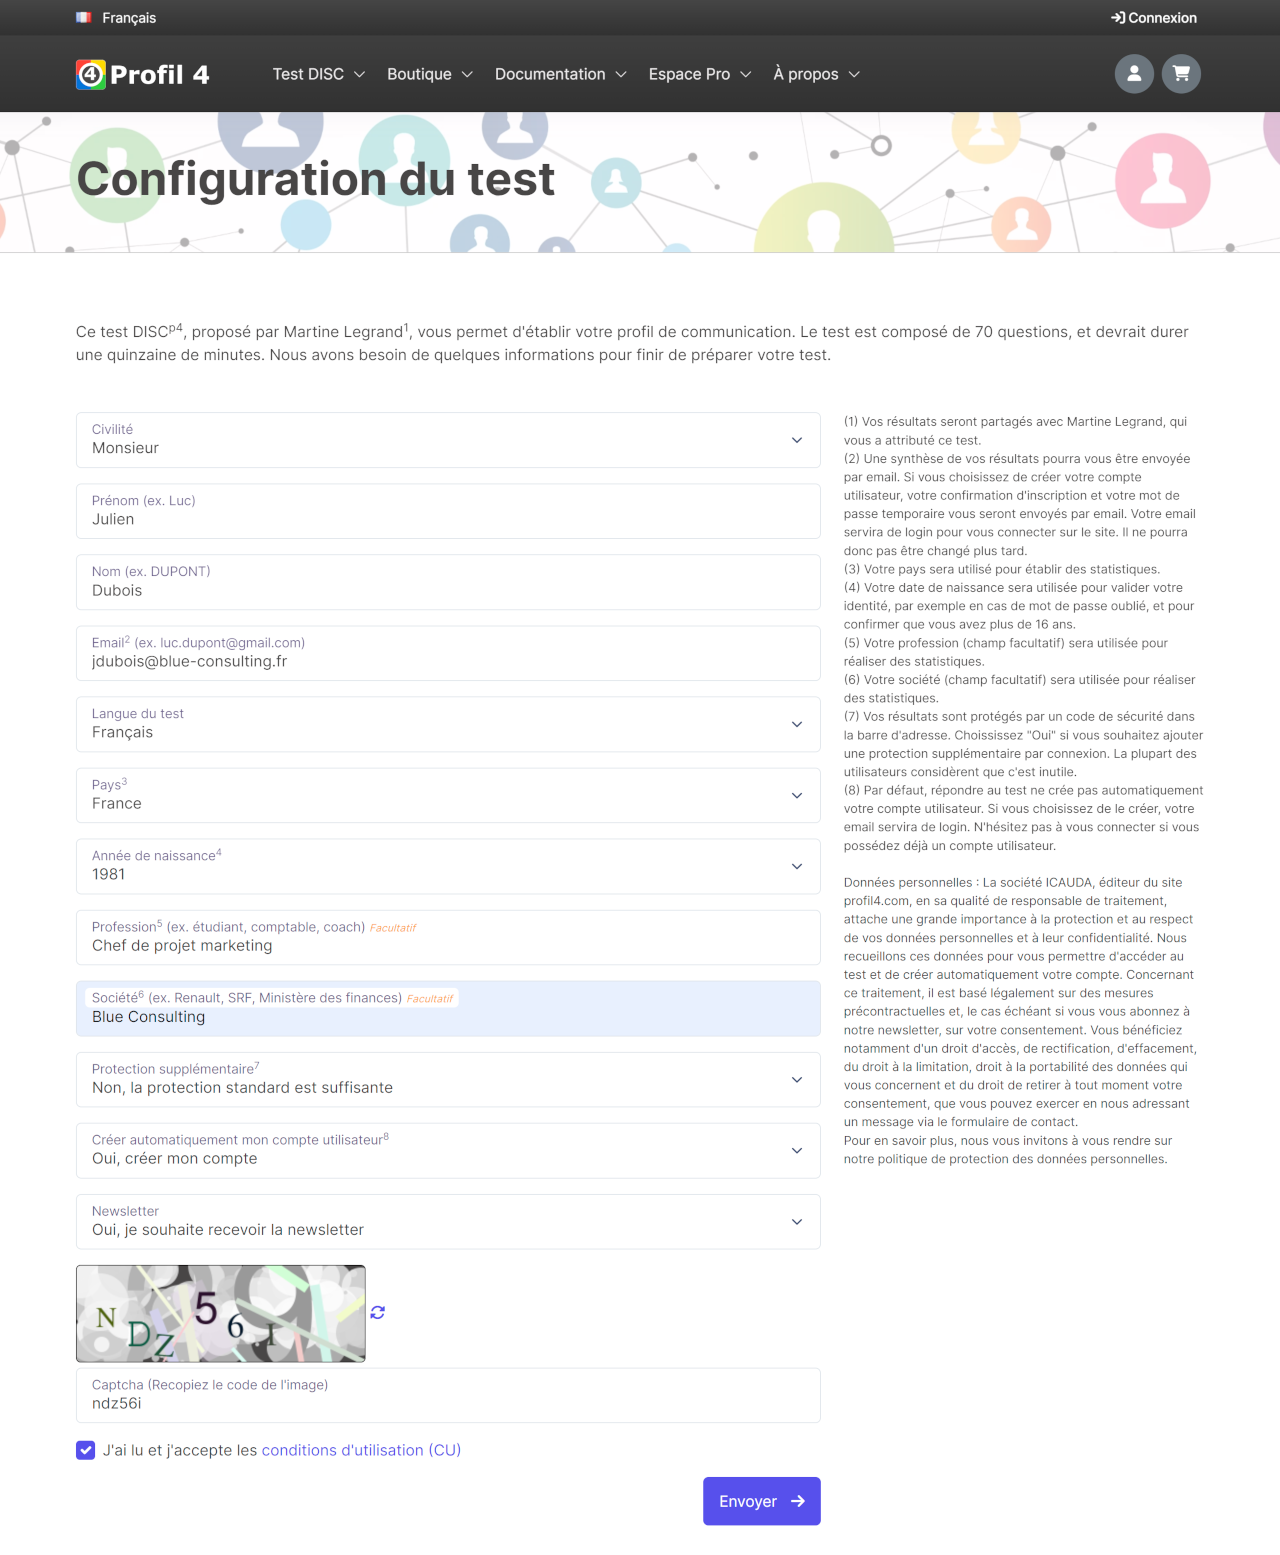
Clicking on the button in the email invitation takes Julien to an initial online form which asks him to check his information and specify a few details.
Some fields on the form, such as profession and company, are optional.
At this stage, Julien can also specify whether he wishes to:
- protect his data so that only he and Martine can view the results. Most people don't think this is necessary, since a secret code already protects each profile and displays it without a user name for other people.
- create a user account automatically as he takes the test. By default, no account is created.
- sign up for the newsletter.
Once he has chosen, the test is ready.
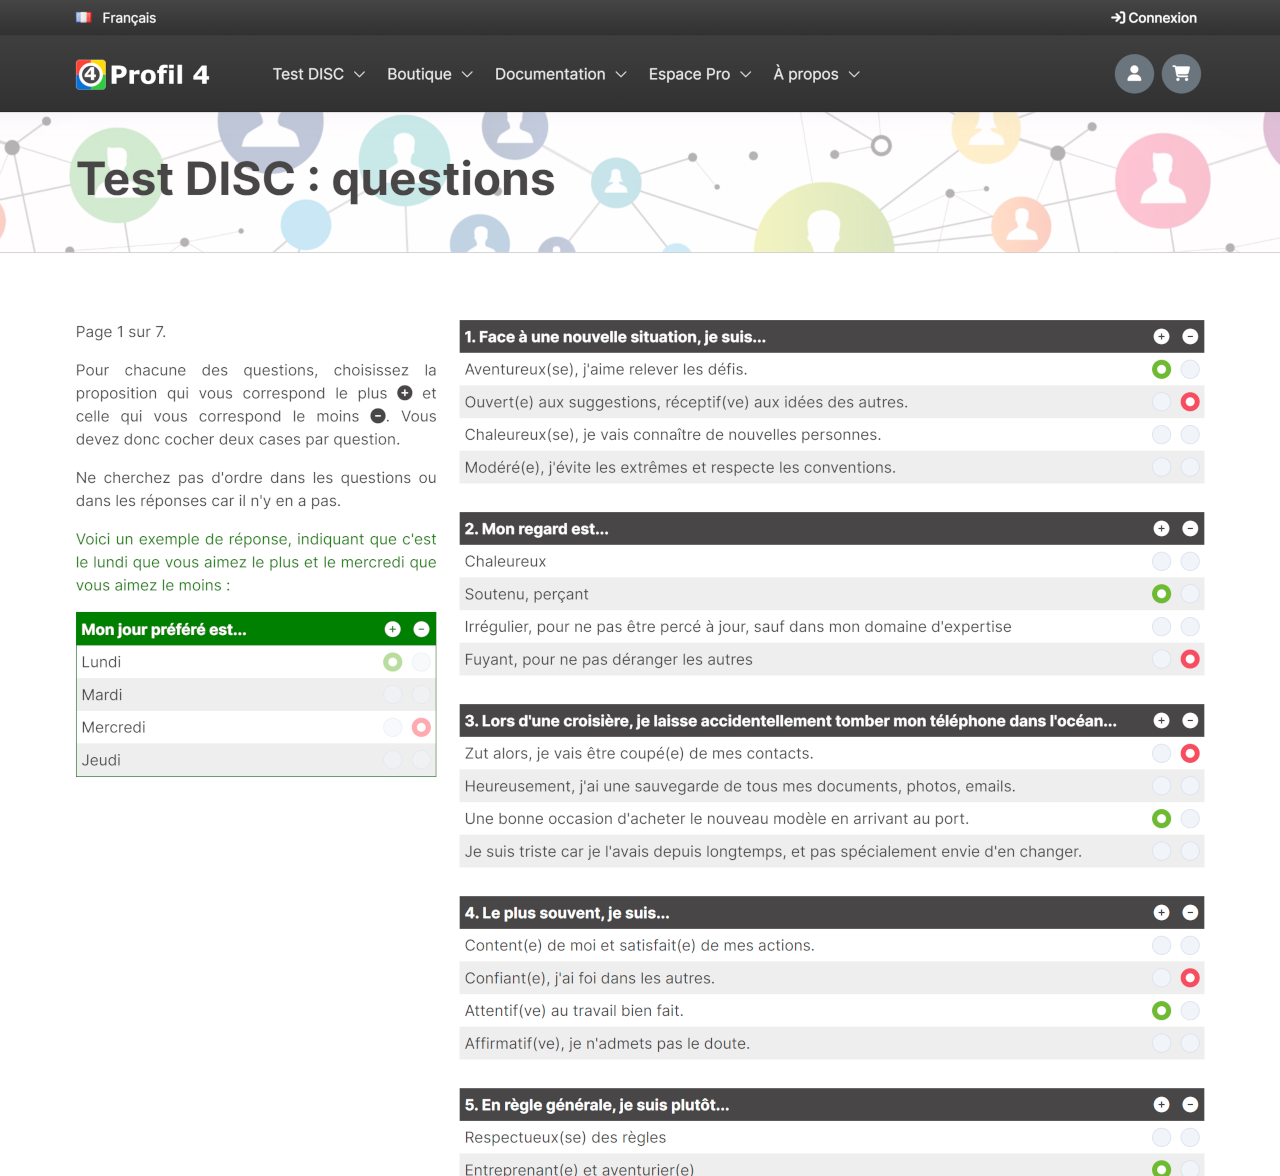
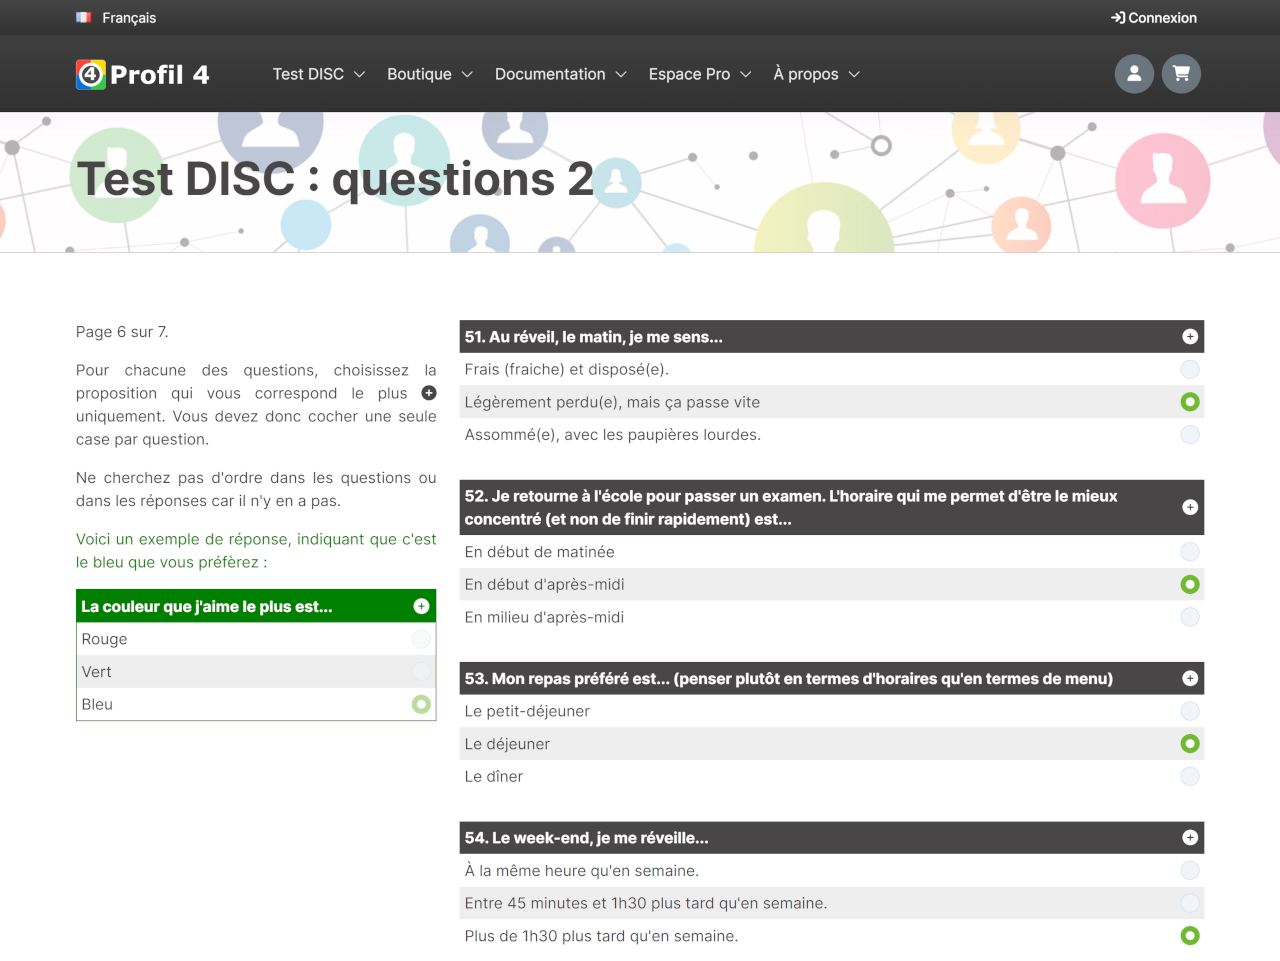
The test is divided into two parts. In the first part, Julien is given four propositions and asked to choose the one that corresponds to him the best and the one that corresponds to him the least. Two boxes must therefore be checked for each question. An example (in green) is shown in the left-hand column.
In the second part, Julien is given two or three propositions and must select the one that corresponds to him the best. Here, there is only one box to check per question.
Since Martine has decided that the results will not be immediately visible, Julien can only see a confirmation that his answers have been registered.
On the screenshot, since Julien is not logged in, we can see that his name has been replaced by his initials.
An email will also be sent to him, with Martine on copy.
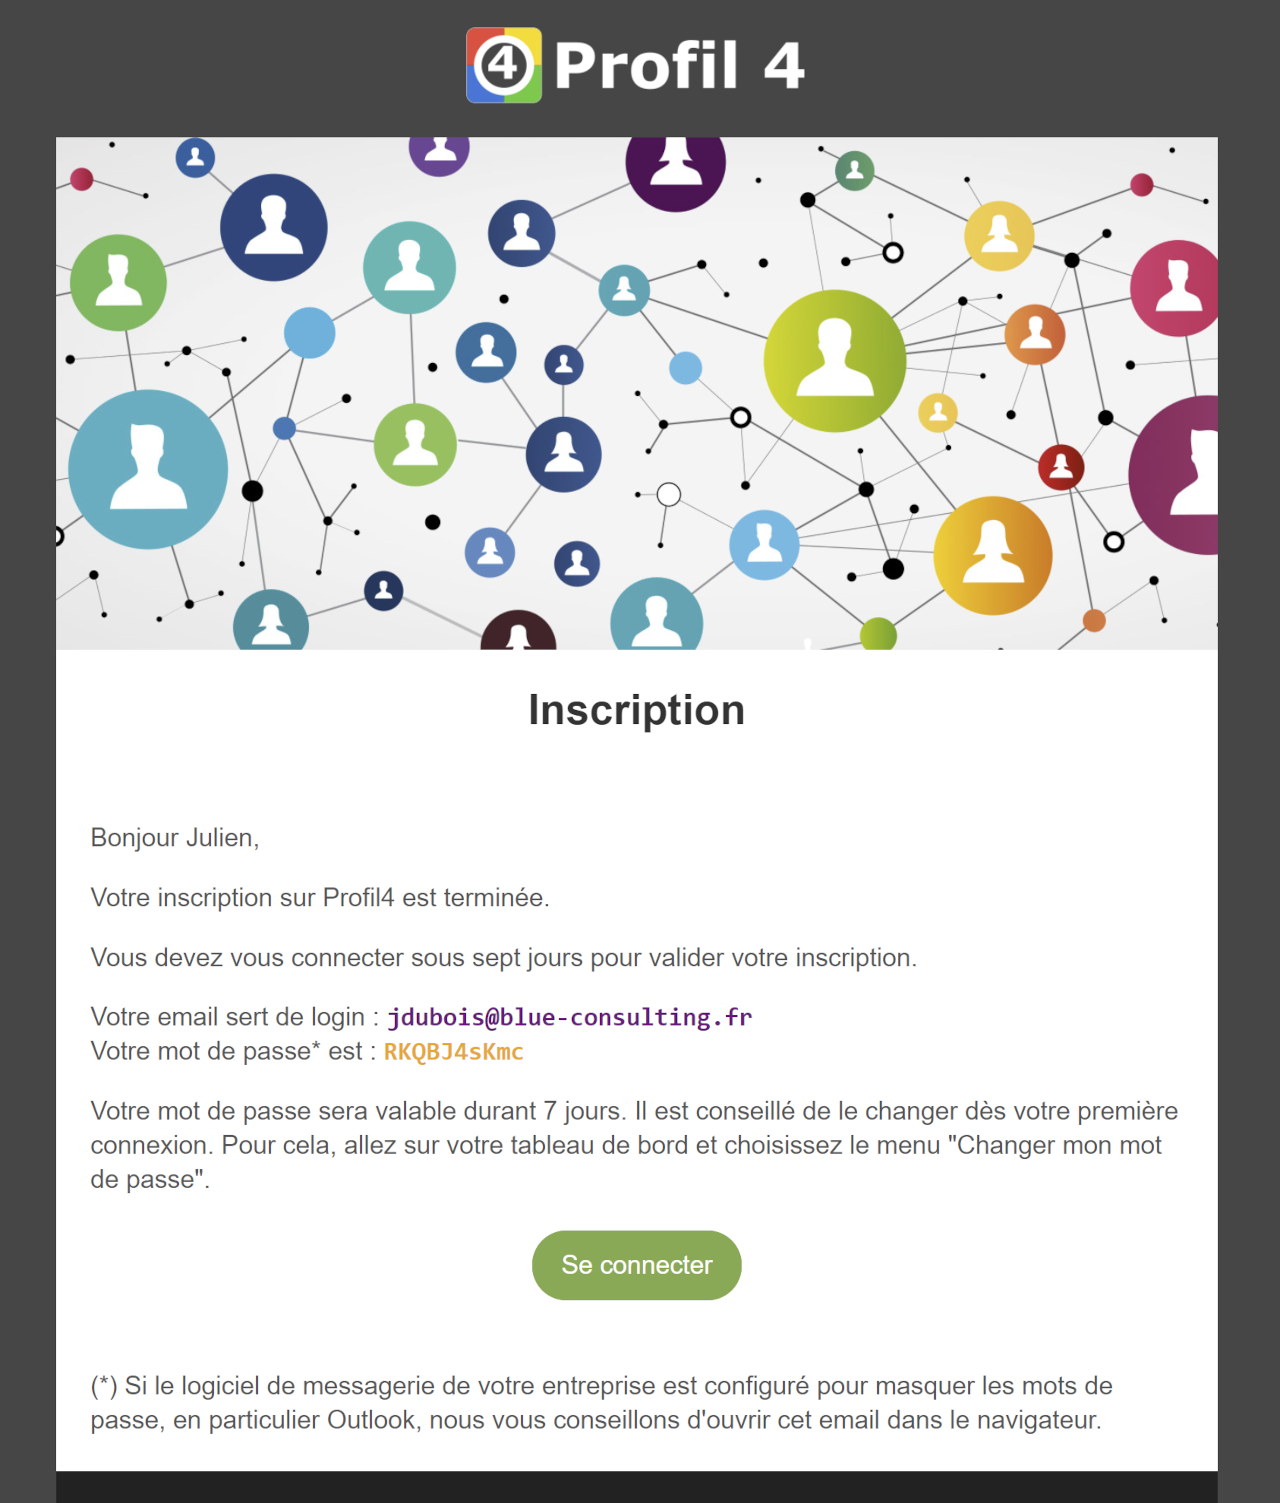
Since Julien has asked for his user account to be created automatically, he will receive an email indicating his temporary password.
Tracking results
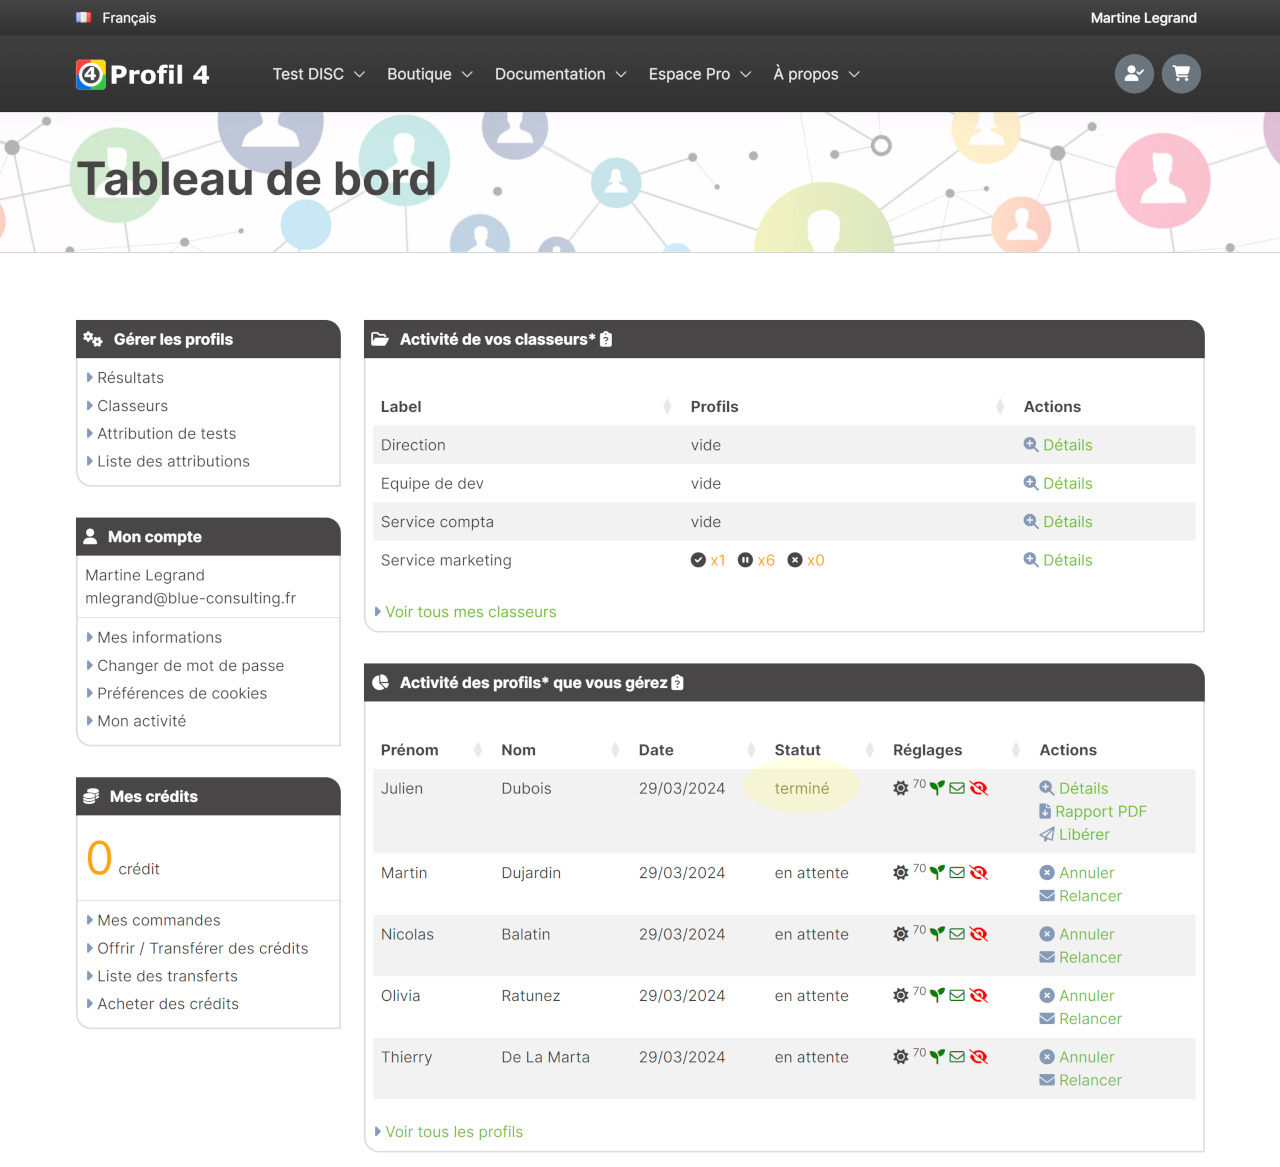
Martine can access all the results right away. From her dashboard, she can see that Julien has completed his test (the lines are sorted by date, with the most recent first).
There are several ways to view profiles. The first is to view the latest profiles highlighted on the dashboard.
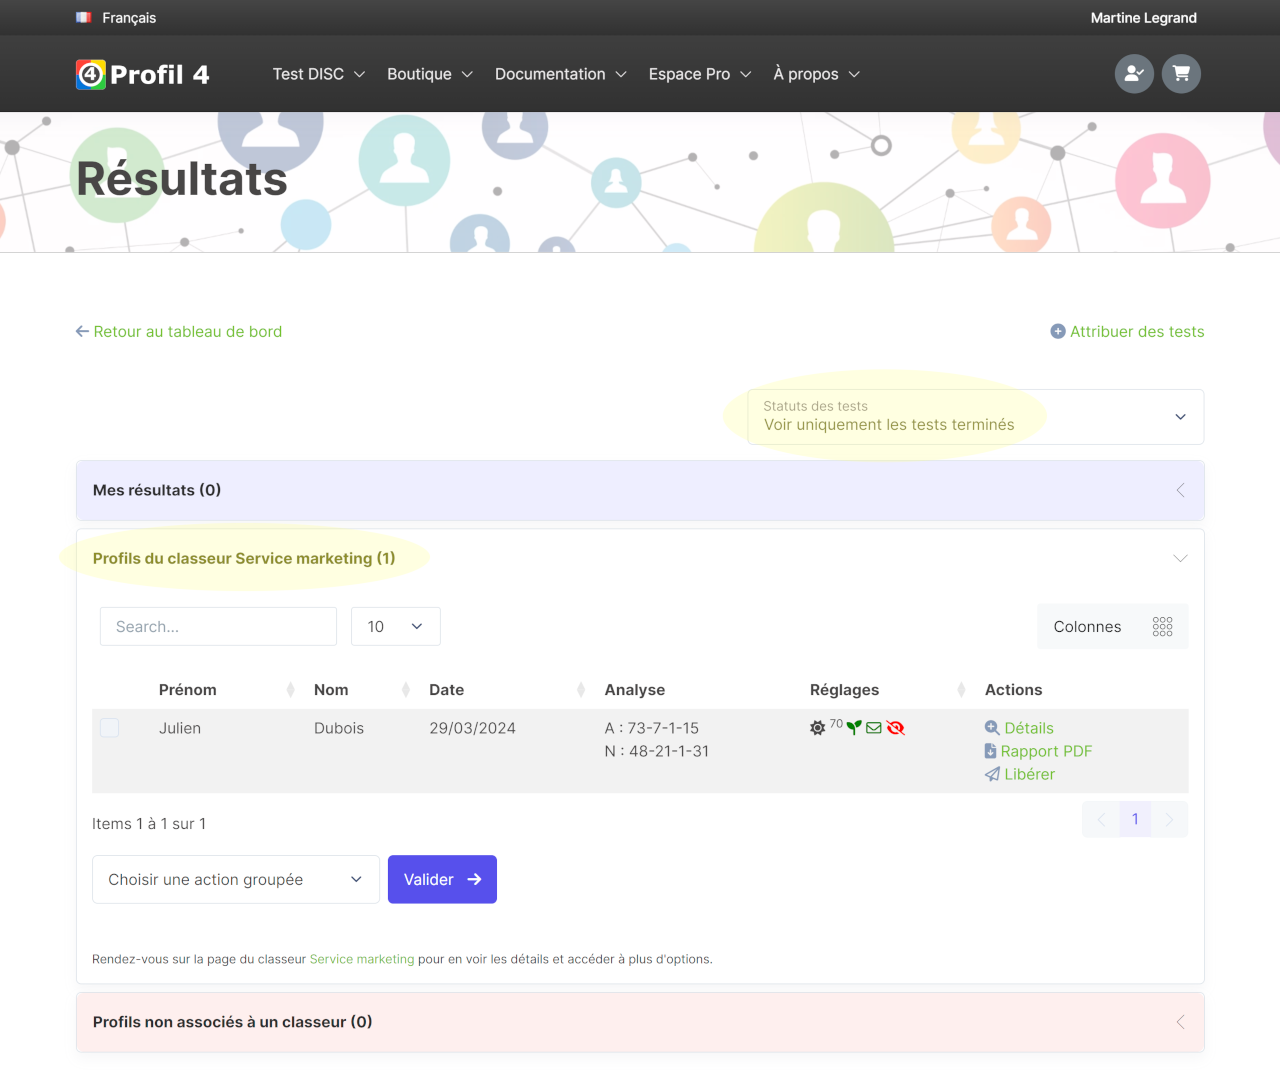
The second is to consult the results page, which is accessible via the left-hand column.
Profiles are organized by workbook. Profiles not associated with a workbook are grouped together in the final section.
By default, only completed tests are displayed on this page, but a filter at the top allows you to change this.
The third way is to consult workbook contents directly, also via the left-hand column.
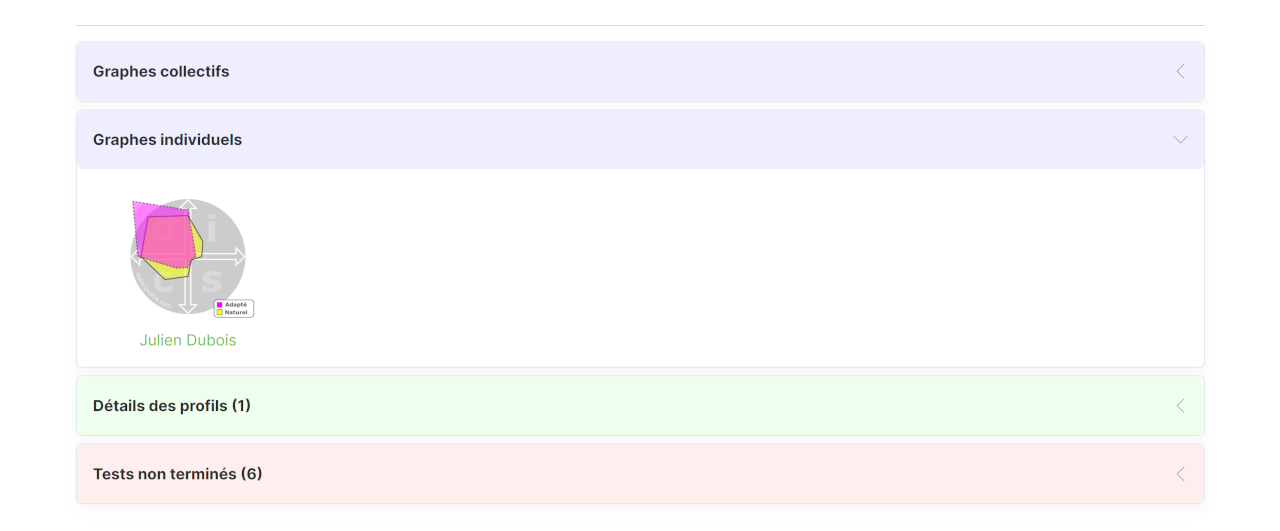
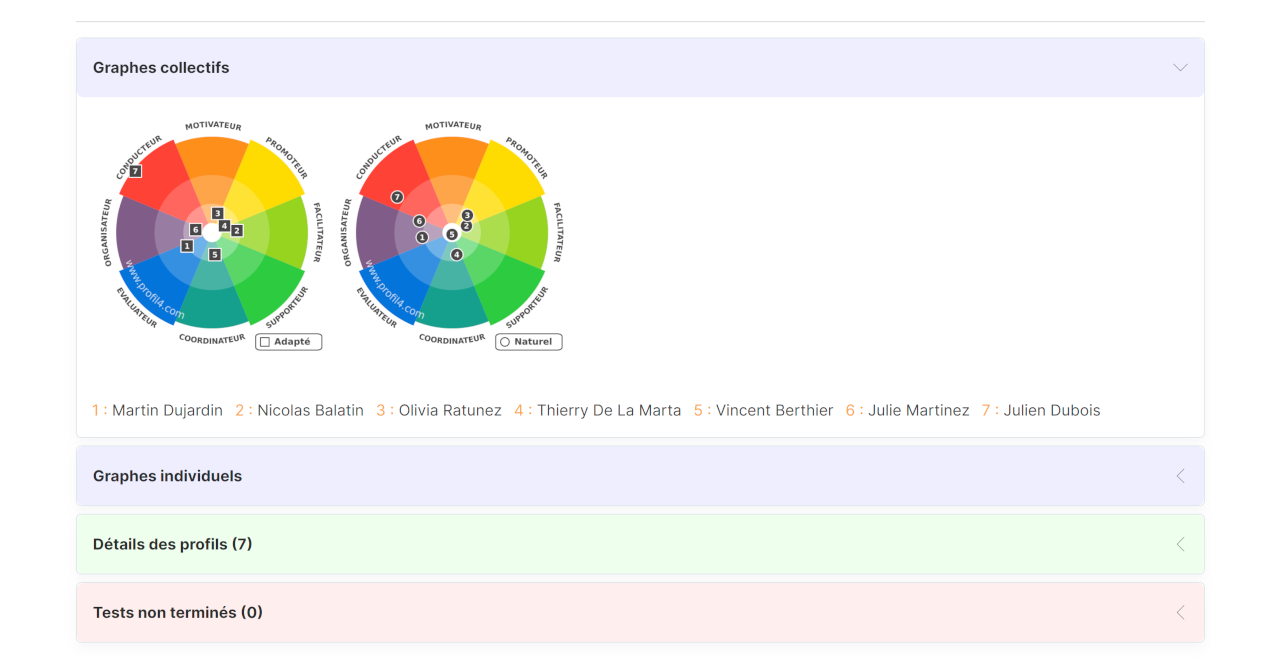
The workbooks provide graphs representing the profiles of all team members grouped together, even if only Julien's appears for now.
Individual graphs are also provided.
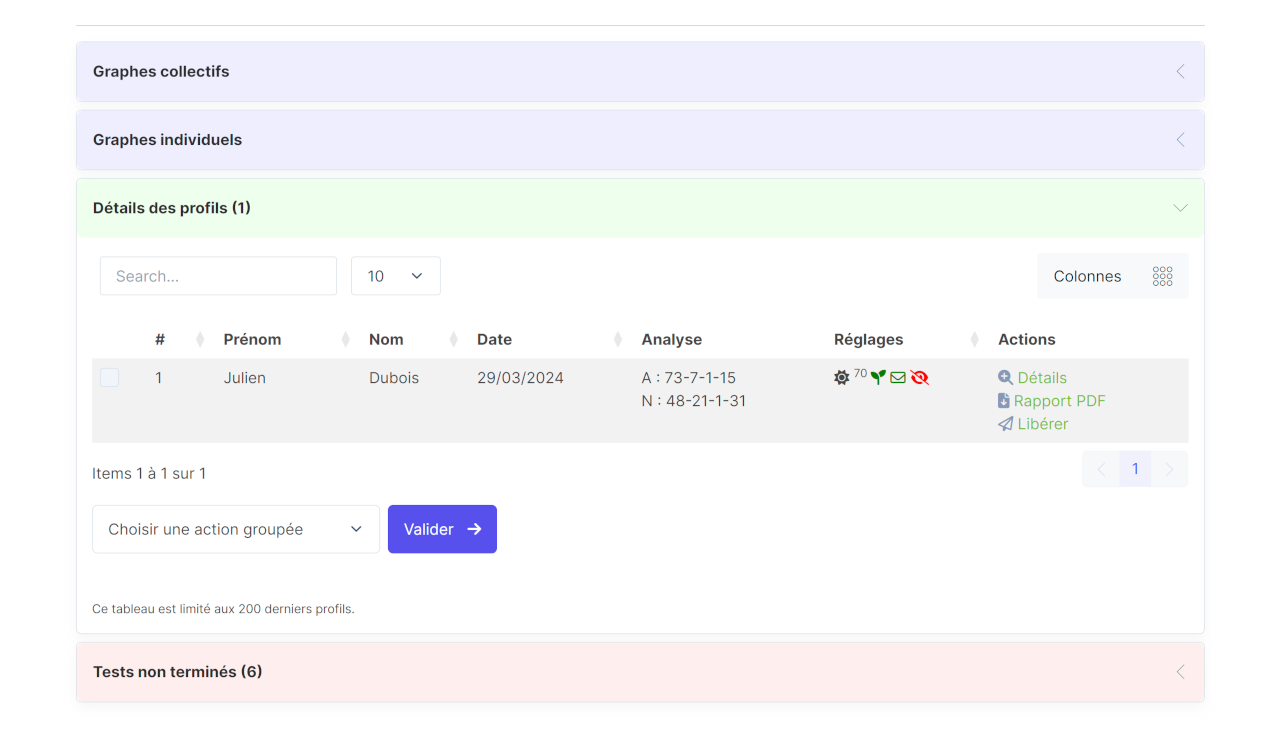
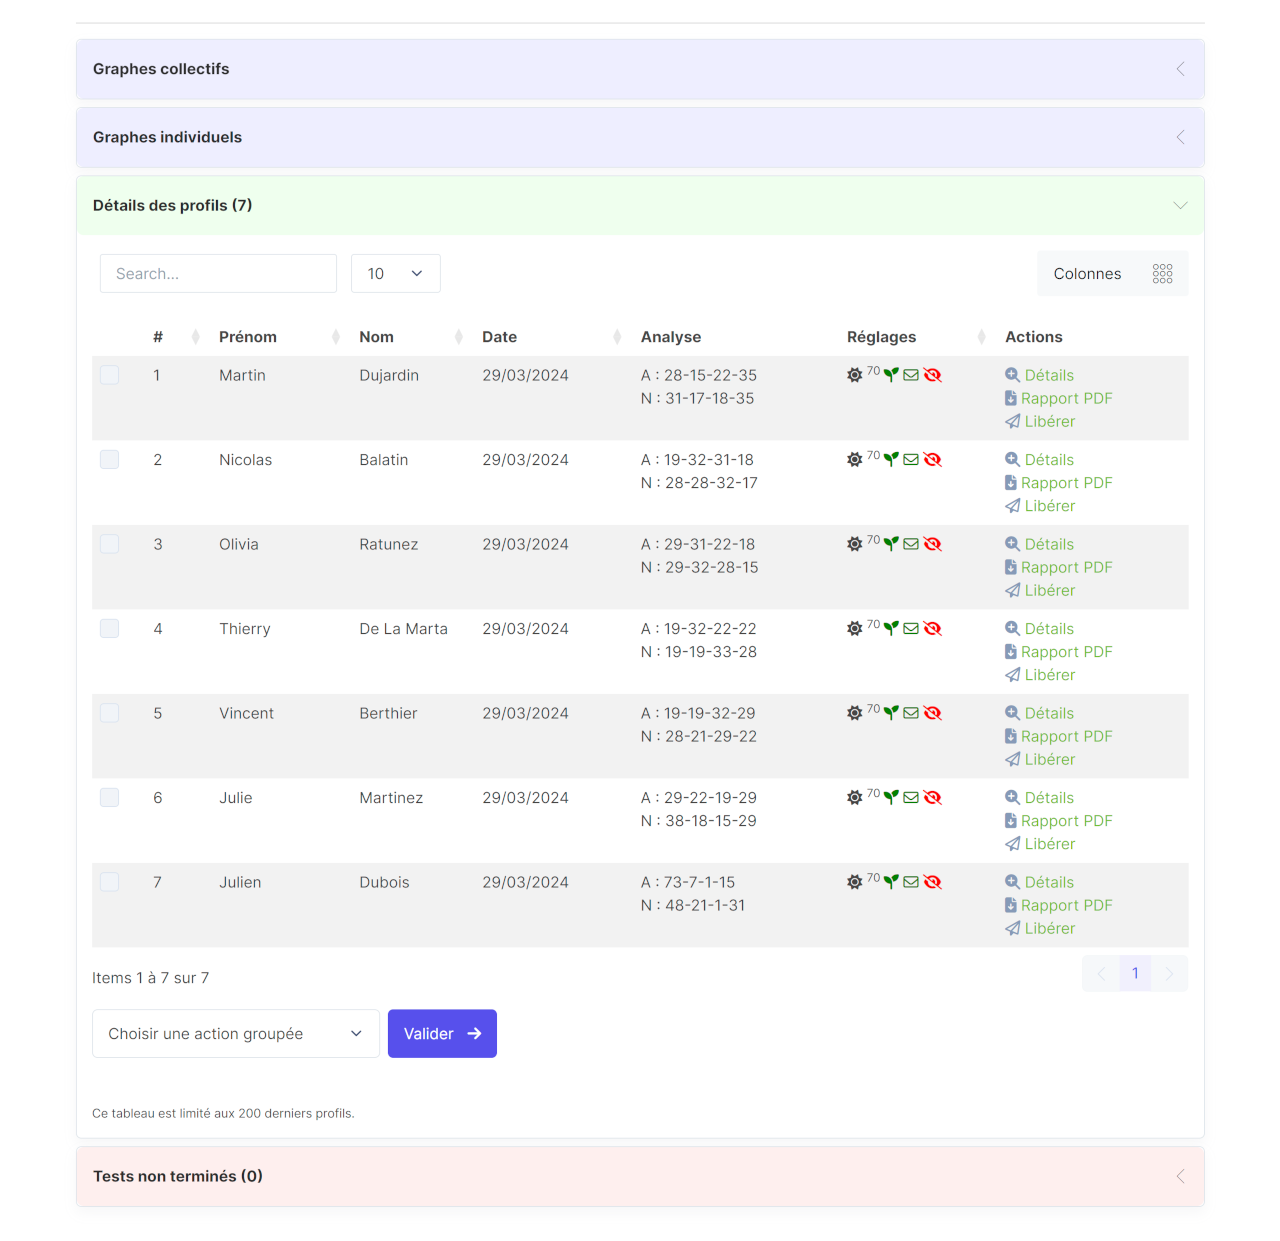
As well as the results table.
And pending tests that can be cancelled or sent again.
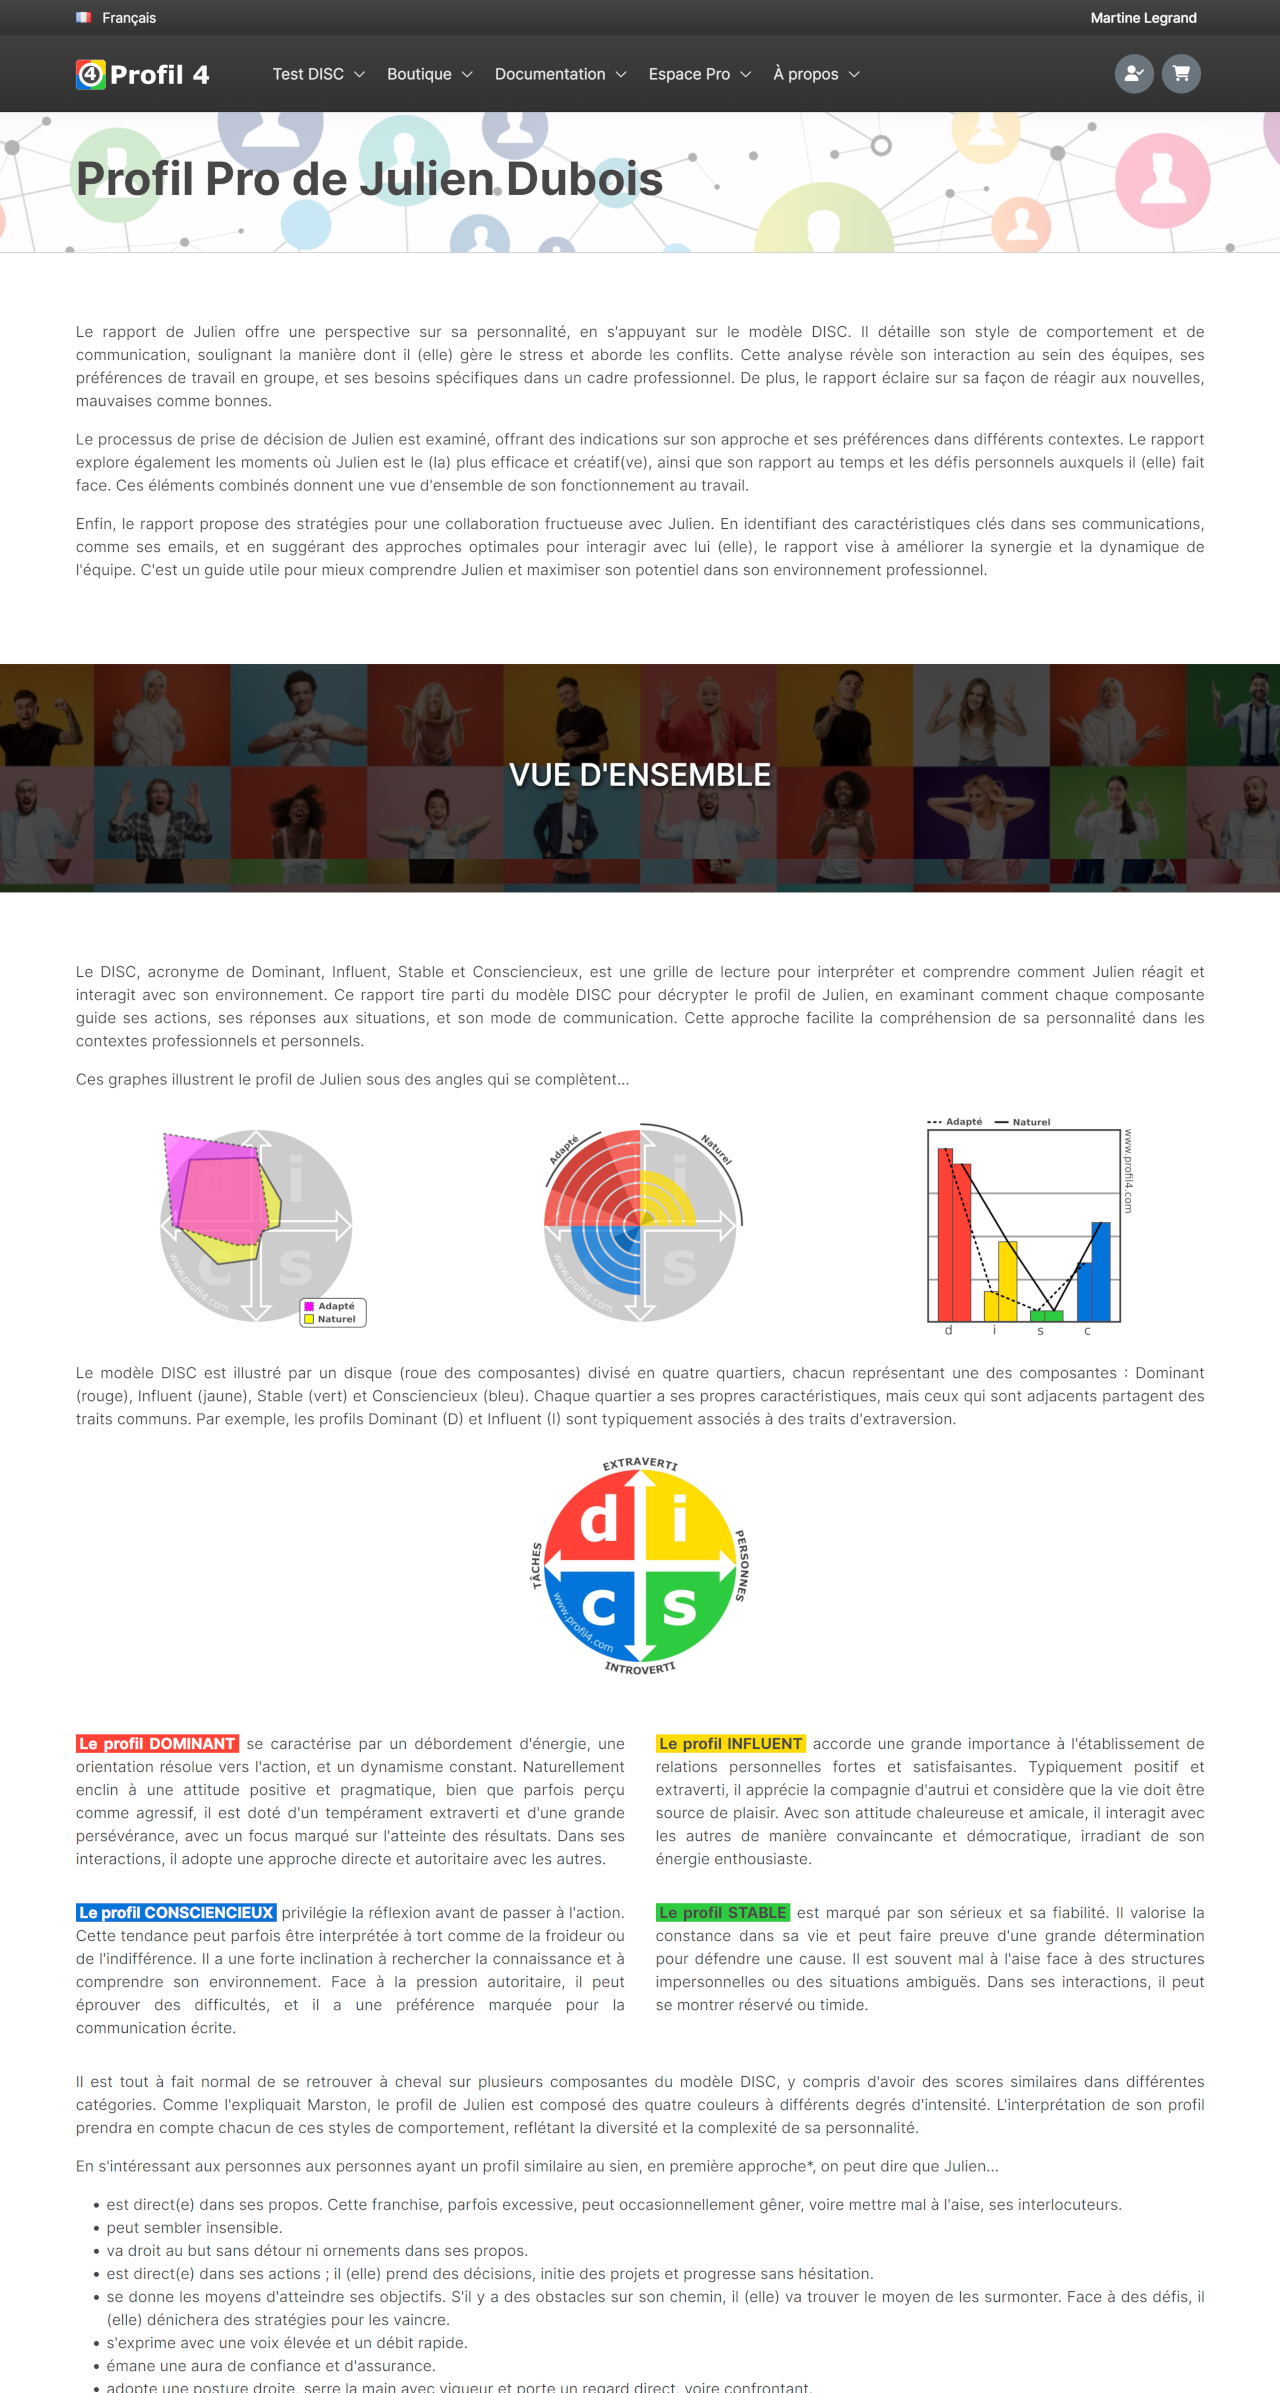
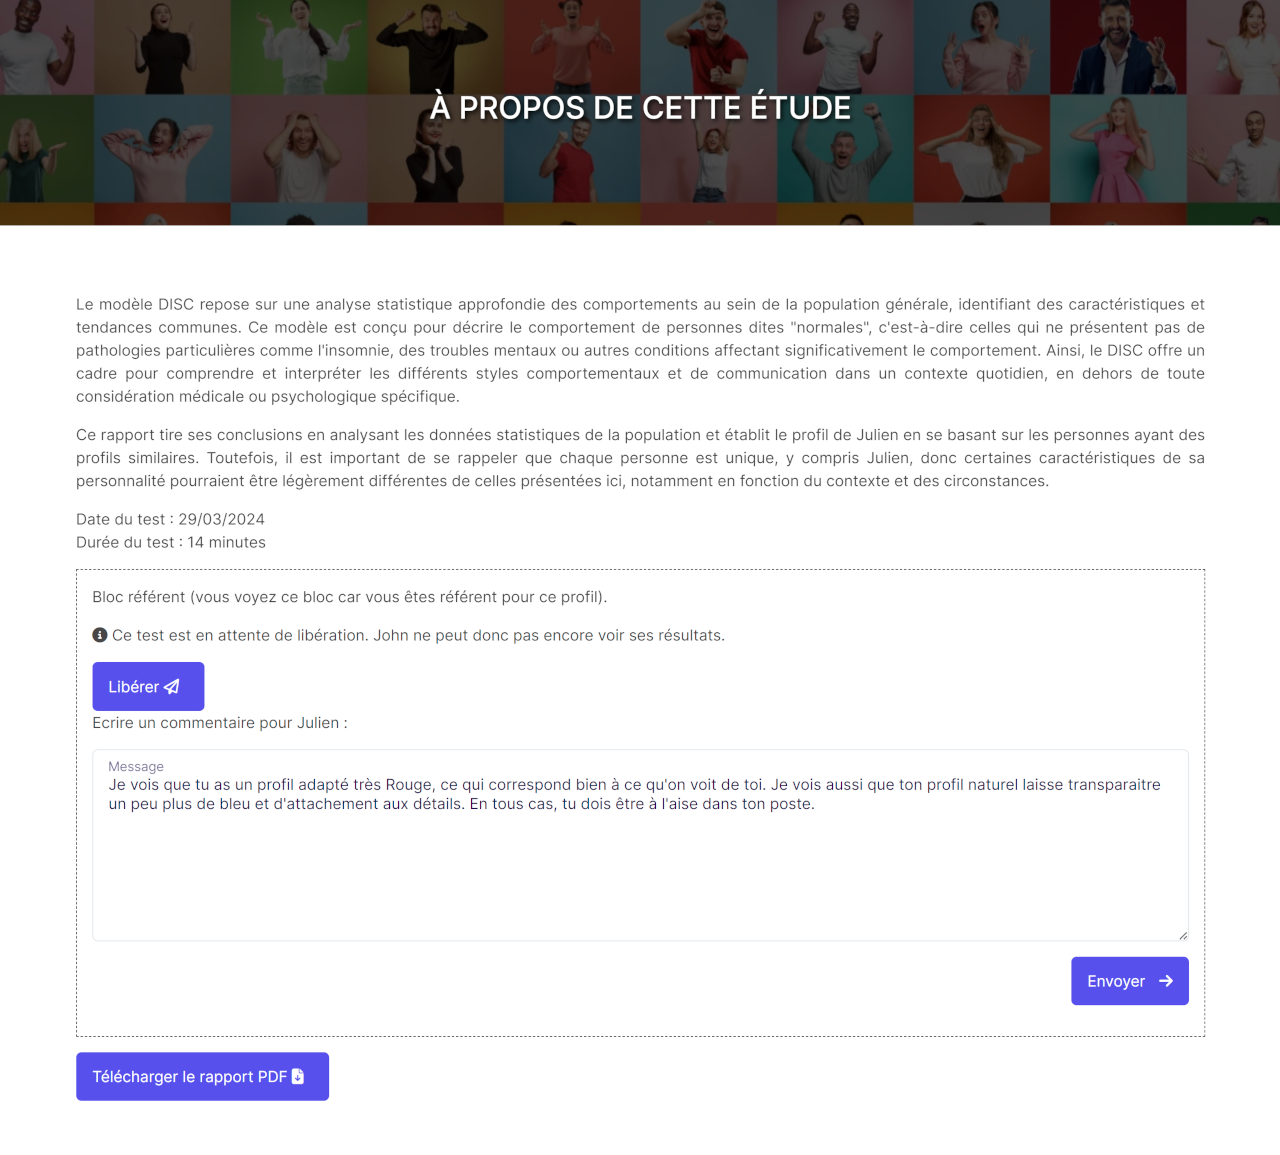
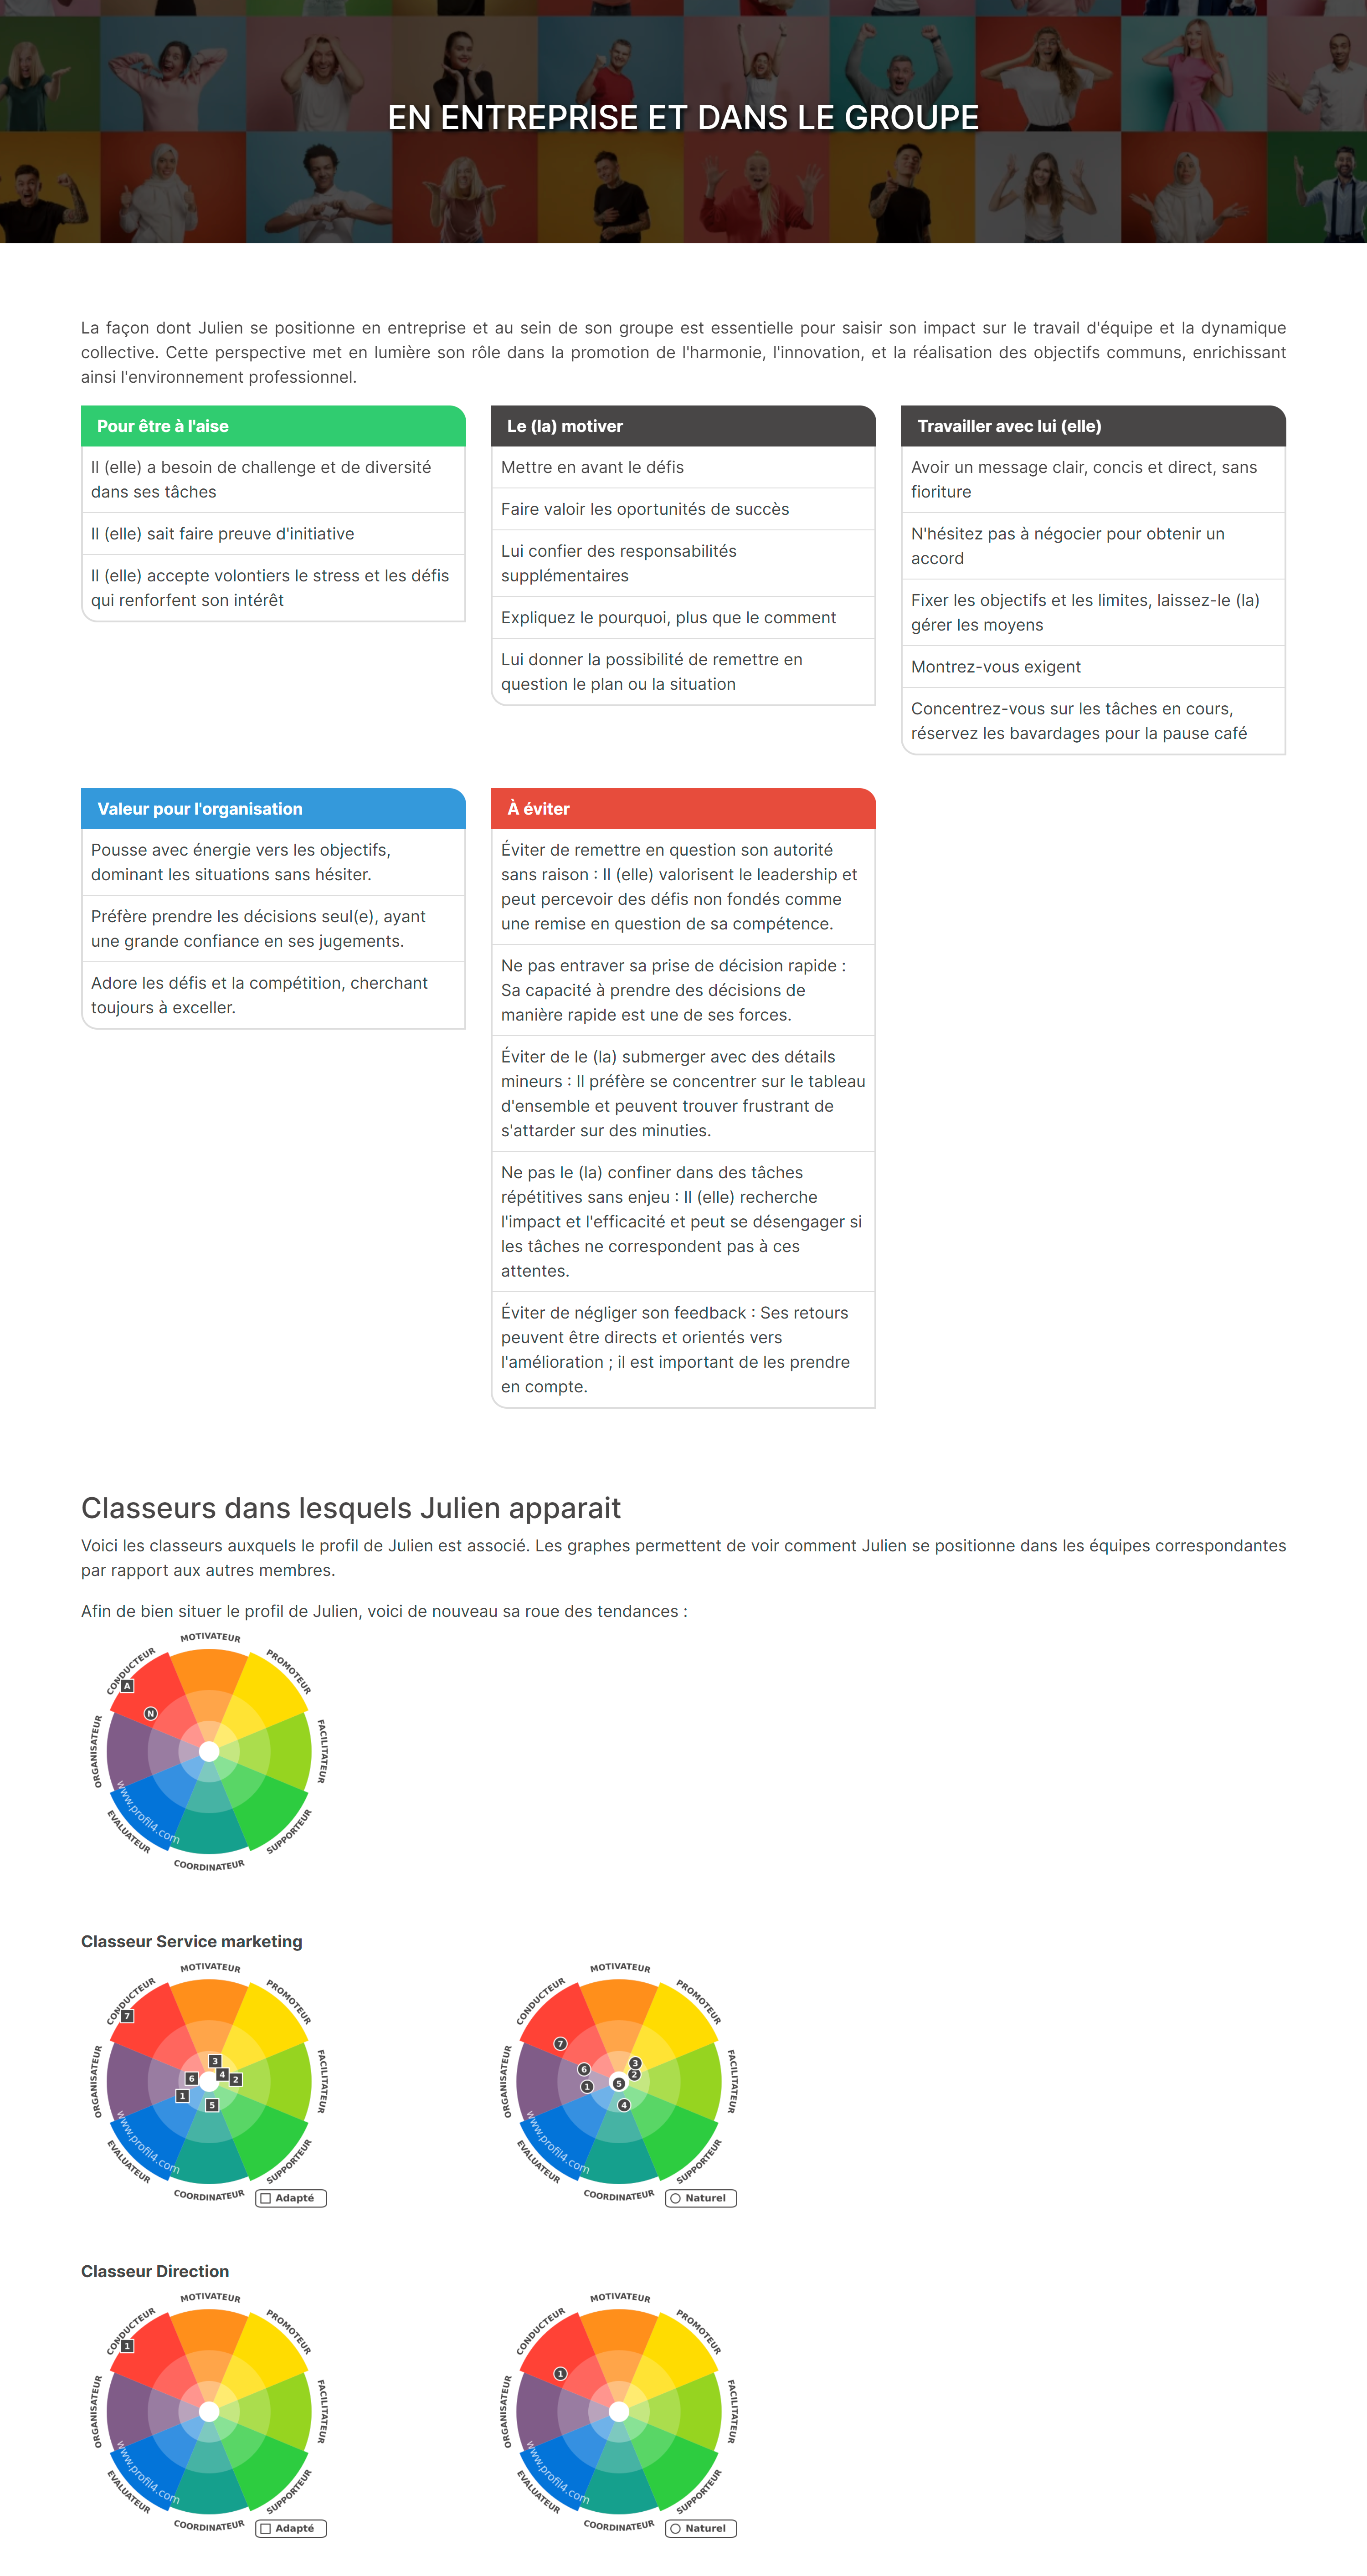
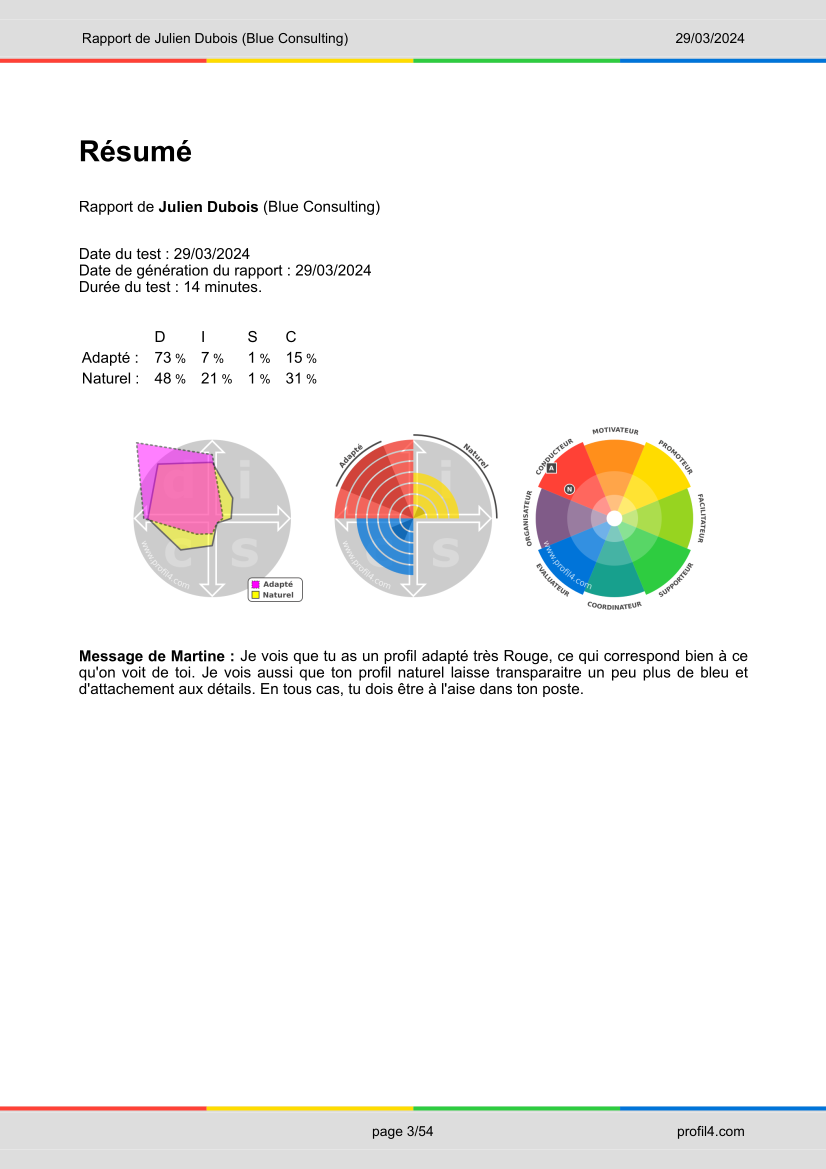
As indicated, Martine has immediate access to Julien's report, so she can start studying it and prepare her feedback.
If necessary, Martine can annotate Julien's report. As a reminder, her comments must remain respectful and ethical.
The graphs are updated as the other team members carry out their tests.
The same applies to the results table.
If the relevant option has been selected, the report includes graphs from all the workbooks associated with the profile.
PDF Report
The PDF profile reports, which are true personal development notebooks, are more specifically useful for coaching and training.
Martine can download the reports right away. Julien, on the other hand, must wait for Martine to release his results.
Releasing results
Martine plans to hold a debriefing meeting with the whole team. Like many coaches and trainers, she prefers to wait until the end of the meeting before releasing the results so that those concerned can consult them.
Tests can be released one by one or all together. To this end, Martine must check the boxes in the relevant rows and select the "release profiles" option from the menu below the table.
Team members then receive an email notification.
When they log in (after creating an account if necessary), they can access their results directly from their dashboard.


